Which way to turn oil filter is an important question when performing an oil change. You should turn your oil filter counterclockwise to remove it and clockwise to install it, ensuring a proper seal and preventing leaks.
Use a suitable oil filter wrench for grip, apply steady pressure, and avoid over-tightening by following the manufacturer’s torque specifications. If the filter is stuck, gently tap it or apply penetrating oil before trying again.
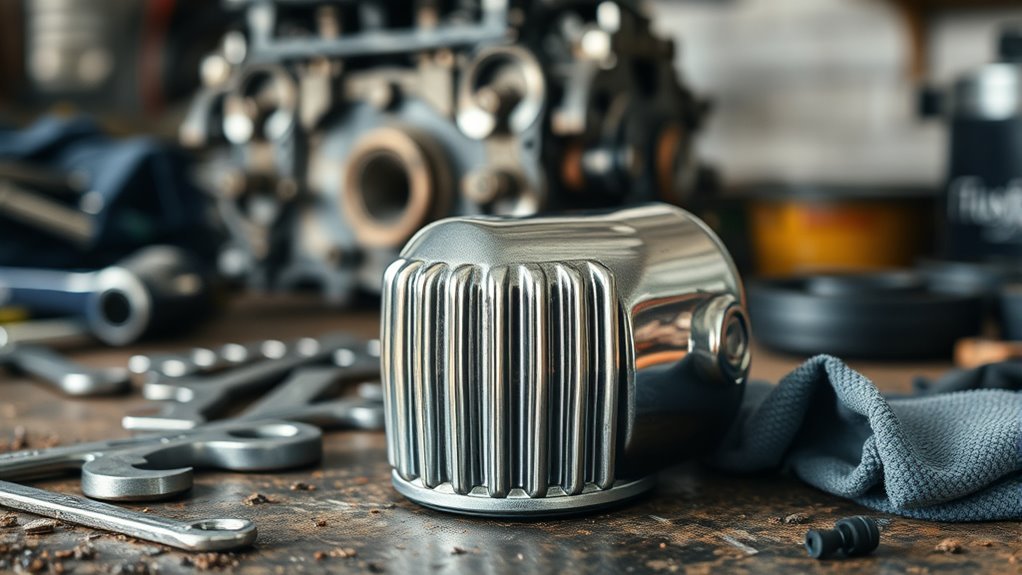
Proper technique extends engine life and avoids damage—keep going for more tips on safe removal and installation methods.
Key Takeaways
- To remove an oil filter, always turn it counterclockwise, regardless of brand or type.
- When installing, turn the oil filter clockwise until the gasket contacts the mounting surface, then tighten an additional three-quarters to one turn.
- Use an appropriate oil filter wrench or socket to ensure a secure grip and avoid damage.
- Avoid over-tightening to prevent thread stripping and ensure a proper seal.
- If the filter is stuck, apply penetrating oil and use steady, controlled pressure while turning counterclockwise.
Why It’s Important to Turn Your Oil Filter the Right Way
Although it might seem straightforward, turning your oil filter the right way is essential to establish a proper seal and prevent leaks.
Correct oil filter orientation establishes the gasket seats evenly against the engine surface, avoiding gaps that cause oil seepage.
When you apply proper filter installation techniques, you align the threads precisely, reducing the risk of cross-threading or damage. Misalignment can lead to a loose fit, jeopardizing engine performance and safety.
You should tighten the filter by hand until the gasket contacts the mounting surface, then follow the manufacturer’s recommended torque or turning angle. This method secures the filter without over-tightening, which can strip threads or deform the gasket.
Proper oil filter orientation and installation techniques safeguard engine longevity and maintain consistent oil pressure.
The Simple Rule: Turn Oil Filters Counterclockwise to Remove
Making sure your oil filter is installed correctly includes knowing how to remove it properly when the time comes. The simple, universal rule is to turn oil filters counterclockwise to remove them.
Regardless of oil filter types, whether spin-on or cartridge style, counterclockwise rotation loosens the filter’s threads. When dealing with various oil filter brands, this rule remains consistent, as manufacturers design filters to secure tightly clockwise.
Turning oil filters counterclockwise loosens them, a consistent rule across all types and brands.
Use an appropriate oil filter wrench to maintain grip and avoid damage. Apply steady force, turning slowly to prevent stripping the threads. If a filter feels stuck, a small penetrating lubricant can help ease removal.
Following this counterclockwise rule guarantees safe, efficient oil filter changes and prevents costly engine damage caused by improper removal.
Signs You’re Turning the Oil Filter the Wrong Way
If you find the oil filter resisting removal despite applying force, you might be turning it the wrong way. Proper installation techniques dictate turning the oil filter counterclockwise to remove it.
Turning it clockwise when attempting removal can cause damage or stripping. Watch for these signs:
| Sign | Explanation |
|---|---|
| Oil filter doesn’t budge | Likely turned clockwise, tightening it further |
| Unusual resistance | Wrong direction increases friction on seal |
| Damaged filter threads | Applying force in wrong direction can strip threads |
| Oil leaks after reinstallation | Incorrect removal can damage seal, causing leaks |
Recognizing these signs helps correct your approach quickly, preventing further issues during maintenance.
How to Loosen a Stuck Oil Filter Safely
When you encounter a stuck oil filter, applying too much force without the right technique can damage the filter or surrounding components.
Begin by verifying you’re turning the oil filter counterclockwise, the standard removal direction.
To loosen it safely, first clean the filter’s surface to improve grip. Then, use steady, controlled pressure rather than sudden force.
If it remains stuck, try tapping the filter gently with a rubber mallet to break the seal.
Another removal technique involves applying a penetrating oil around the filter base and allowing it to sit for several minutes to loosen corrosion or grime.
Avoid using excessive leverage, which risks damaging the filter housing.
Essential Tools for Removing and Installing Oil Filters
Proper oil filter removal and installation require specific tools designed to fit securely and provide adequate leverage without damaging components.
To work efficiently, you’ll need:
- Filter wrenches. These come in various styles (strap, chain, or cap) to grip different filter sizes firmly.
- Oil filter socket. A socket designed to fit over the end of the filter, allowing you to use a ratchet or breaker bar for controlled turning.
- Ratchet wrench. Paired with the oil filter socket, it provides precise torque application during removal and installation.
- Oil catch pan. While not a tool for turning, it’s essential to catch spilled oil during the process.
Using the right tools guarantees you avoid damaging the oil filter housing and achieve a proper seal when installing the new filter.
Tips to Remove and Install Oil Filters Safely
You’ll want to turn the oil filter counterclockwise to remove it, applying steady pressure to avoid slipping.
When installing, verify the gasket seats properly and tighten the filter according to the manufacturer’s torque specifications.
Following these steps prevents leaks and guarantees a secure fit for peak engine performance.
Proper Removal Techniques
Mastering oil filter removal requires the right tools and a methodical approach to prevent spills and damage. Proper filter maintenance hinges on effective removal techniques. Follow these steps:
- Prepare the area: Place a drain pan beneath the filter to catch residual oil and wear gloves to avoid skin contact.
- Loosen the filter: Use an oil filter wrench, turning the filter counterclockwise. Apply steady pressure to avoid crushing it.
- Remove gently: Once loose, unscrew by hand carefully to prevent oil spillage. Keep the filter upright.
- Inspect the mounting surface: Check for old gasket remnants to guarantee a clean seal during installation.
Adhering to these removal techniques minimizes contamination risks and supports efficient filter maintenance.
Secure Installation Tips
Although removing the oil filter carefully is essential, securing its installation is equally important to prevent leaks and guarantee engine performance.
Start by applying a thin layer of clean oil to the new oil filter’s gasket. This confirms a proper seal and makes future removal easier.
Screw the oil filter onto the engine by hand, turning it clockwise until the gasket contacts the mounting surface. Avoid cross-threading by aligning the filter correctly before tightening.
Once seated, tighten the oil filter an additional ¾ to 1 full turn by hand. Don’t overtighten, as this can damage the gasket or filter housing.
After installation, check for leaks during engine start-up and after a short run. Proper filter installation confirms efficient oil flow and engine protection.
Common Mistakes to Avoid When Changing Oil Filters
When changing your oil filter, make certain you install it in the correct orientation to guarantee proper sealing and function.
Don’t over-tighten the filter, as this can damage the seal or housing.
Always inspect the seal for integrity before final installation to prevent leaks.
Proper Filter Orientation
Since improper filter orientation can lead to oil leaks and engine damage, you need to make sure the oil filter is aligned correctly during installation.
Proper filter orientation guarantees peak sealing and oil flow.
Follow these installation techniques to avoid mistakes:
- Identify the threaded side of the filter; this must face the engine’s mounting surface.
- Lightly lubricate the rubber gasket with clean oil to improve the seal and ease of removal.
- Screw the filter on by hand, turning it clockwise until the gasket contacts the mounting surface.
- Tighten the filter according to manufacturer specifications, usually ¾ to 1 full turn after gasket contact.
Adhering to these steps guarantees the filter seats properly, preventing leaks and maintaining engine protection.
Avoid Over-Tightening
Even if you think tightening the oil filter more guarantees a better seal, over-tightening can cause serious damage. When you install the oil filter, follow the manufacturer’s torque specifications precisely.
Over tightening can strip the threads on the filter or the engine block, leading to leaks or costly repairs. Use your hand to screw the filter on until the gasket contacts the mounting surface, then tighten it about three-quarters to one full turn more.
Avoid using tools that can exert excessive force. Remember, the gasket compresses to form the seal; applying too much torque risks crushing or deforming it.
Proper tightening guarantees a secure fit without compromising the oil filter’s integrity or the engine’s components. Always prioritize controlled torque over brute force.
Check Seal Integrity
Inspect the oil filter gasket carefully before installation to confirm a proper seal. Neglecting seal inspection can lead to oil leaks and engine damage.
Follow these steps to guarantee seal integrity:
- Examine the gasket for cracks, tears, or deformities before placing the filter.
- Apply a thin layer of clean oil on the gasket to improve filter alignment and seal.
- Position the filter correctly on the mounting surface, confirming even contact of the gasket.
- After tightening, double-check that the gasket remains seated and undistorted to prevent leaks.
Performing a thorough seal inspection and maintaining precise filter alignment will help you avoid common mistakes and confirm reliable engine protection.
When to Replace or Reuse Your Oil Filter
Determining when to replace or reuse your oil filter depends on several factors, including mileage, oil type, and engine condition.
You should adhere to the manufacturer’s recommended filter replacement frequency, which often aligns with oil change intervals to maintain peak filtration performance.
Oil filter longevity varies based on synthetic versus conventional oil use; synthetic oils usually allow longer intervals. If your engine operates under severe conditions, such as extreme temperatures or heavy loads, you’ll need more frequent replacements.
Reusing an oil filter is generally discouraged because contaminants accumulate and reduce filtration efficiency, risking engine wear. Always inspect the filter for seal integrity and physical damage before considering reuse.
Prioritize timely replacement to guarantee effective filtration, protect engine components, and sustain overall performance.
How to Change Your Oil Filter Without Damage
Replacing your oil filter requires careful handling to prevent damage that could compromise its function or cause leaks.
Proper care during oil filter replacement ensures optimal performance and prevents leaks or damage.
Different oil filter types and oil filter brands vary in design, so follow these steps precisely:
- Identify the correct oil filter for your vehicle, considering compatibility with oil filter types and recommended oil filter brands.
- Use an appropriate oil filter wrench to loosen the filter by turning it counterclockwise; avoid excessive force to prevent casing deformation.
- Before installing the new filter, apply a thin layer of clean engine oil to the rubber gasket to guarantee a proper seal.
- Screw the new filter on by hand, turning clockwise until the gasket contacts the mounting surface, then tighten an additional ¾ turn. Don’t overtighten.
These steps minimize damage risk, guaranteeing reliable oil filtration and engine protection.
Frequently Asked Questions
Can I Use Any Oil Filter Brand for My Car?
You can’t use just any oil filter brand; you need to guarantee oil filter compatibility with your car’s specifications. Prioritize filter brand quality to maintain engine performance and avoid damage by selecting certified, reliable filters only.
How Often Should I Change My Oil Filter?
You shouldn’t wait forever. Oil filter lifespan usually maxes out at 7,500 miles or six months. Stick to your maintenance schedule precisely to avoid engine damage and guarantee peak filtration performance for your vehicle’s longevity.
Does Oil Filter Size Vary Between Car Models?
Yes, oil filter size varies between car models due to differing oil filter dimensions and oil filter compatibility requirements. Always verify the exact specifications to confirm proper fit and maximum engine protection in your vehicle.
What Happens if I Overtighten the Oil Filter?
If you overtighten the oil filter, you risk oil filter damage and warping the gasket, leading to oil filter leaks. Always tighten it hand-tight plus a quarter turn to guarantee a proper seal without damage.
Can I Change the Oil Filter Without Lifting the Car?
You can change the oil filter without lifting the car if oil filter accessibility is sufficient. Use proper tools and guarantee safety.
For DIY oil changes, verify clearance under the vehicle before starting to avoid complications.
Conclusion
Never underestimate the power of turning your oil filter the right way—turning it clockwise to remove could cause a mechanical meltdown of epic proportions! Always twist counterclockwise to avoid stripped threads, oil spills, or a stuck filter that feels like it’s fused to your engine.
Use the proper tools, apply steady force, and follow the steps precisely. Master this simple action, and you’ll save yourself from catastrophic engine damage and costly repairs every single time.
Remember, knowing which way to turn oil filter is crucial for maintaining your engine’s health and ensuring a smooth oil change process.