Knowing if Champion spark plugs truly enhance engine performance can change your driving experience—discover why they might be the perfect choice for your vehicle.
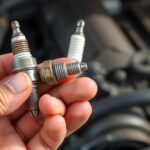
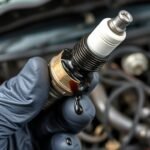
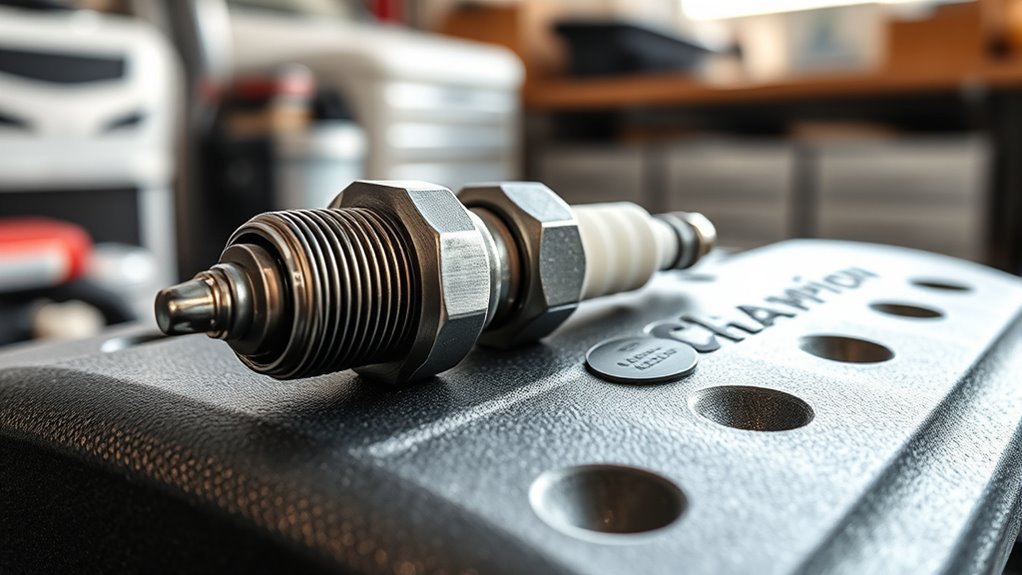
Yes, Champion spark plugs are good and deliver reliable ignition along with solid performance. They use durable materials like iridium and feature advanced designs such as fine-wire electrodes and anti-corrosion coatings.These qualities help boost combustion efficiency, reduce misfires, and maintain smooth engine operation. Champion spark plugs fit a wide range…
You’ll find eight spark plugs in a V8 engine—one per cylinder—to guarantee precise ignition timing and ideal combustion. Each spark plug independently ignites the air-fuel mixture, preventing misfires and maximizing engine power, fuel efficiency, and emissions control.While some V8 designs might use dual plugs per cylinder for enhanced performance, the…
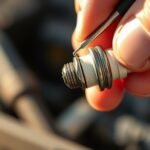
You’ll need a spark plug socket that matches your car’s plug size, a ratchet wrench with an extension for reaching tight spots, and a torque wrench to tighten plugs to the manufacturer’s specs without damaging them. These are essential tools to change spark plugs effectively.A gap gauge helps you check…
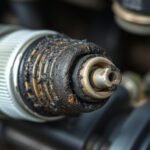
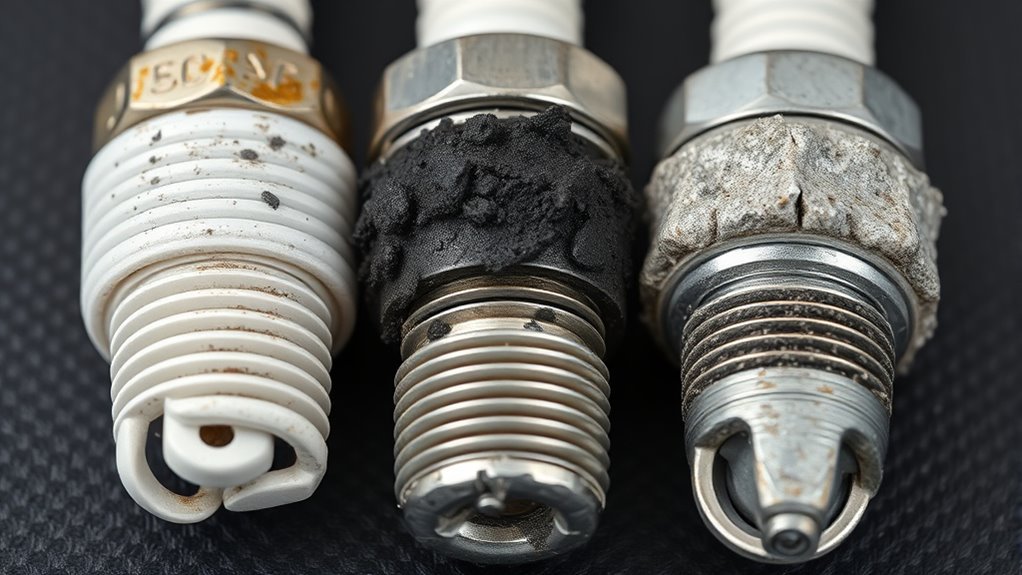
You’ll know it’s time to change your spark plugs if your engine idles roughly, struggles to start, or fuel efficiency drops noticeably. Knowing when to change spark plugs is crucial for maintaining optimal engine performance and avoiding costly repairs.Inspect plugs by removing them with a socket wrench once the engine…
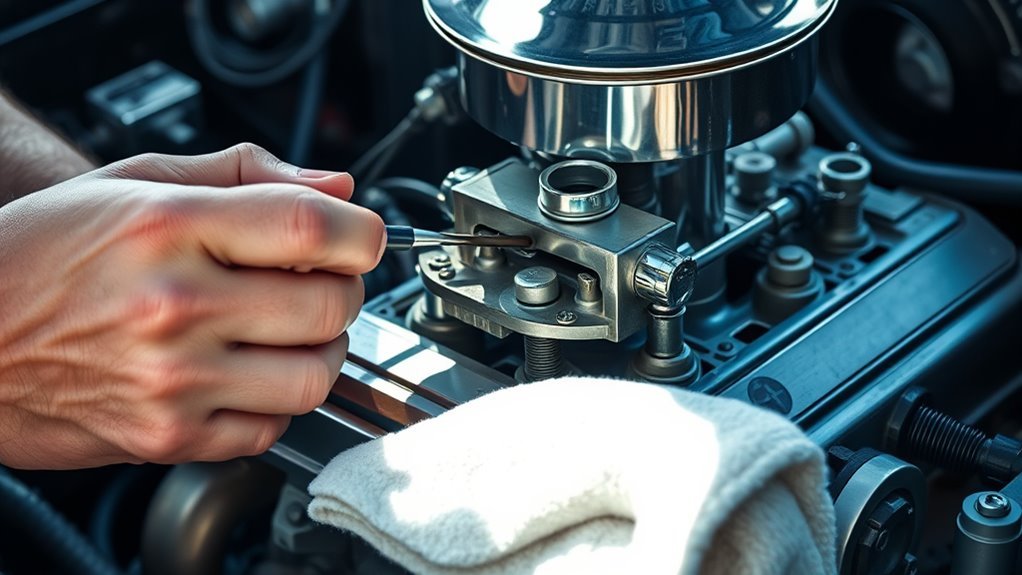
To tune your carburetor properly, start by adjusting the float level to control fuel flow accurately. This step is crucial for maintaining the correct fuel-to-air ratio. Next, fine-tune the idle speed screw to set your engine’s RPM and adjust the idle mixture screw for a smooth, stable idle.Use tools like…
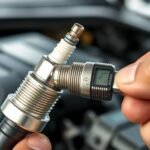
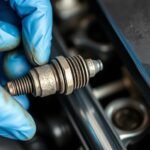
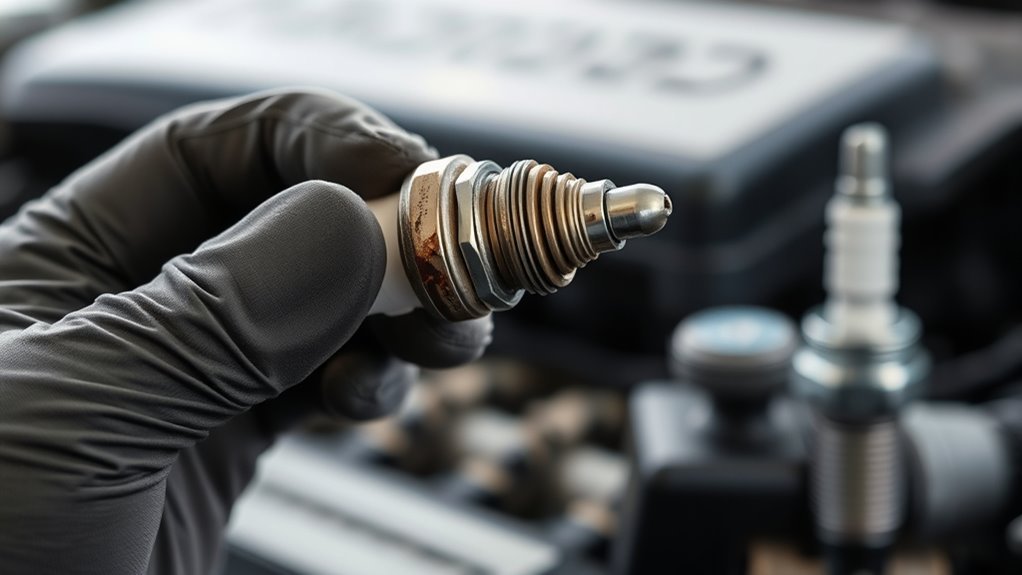
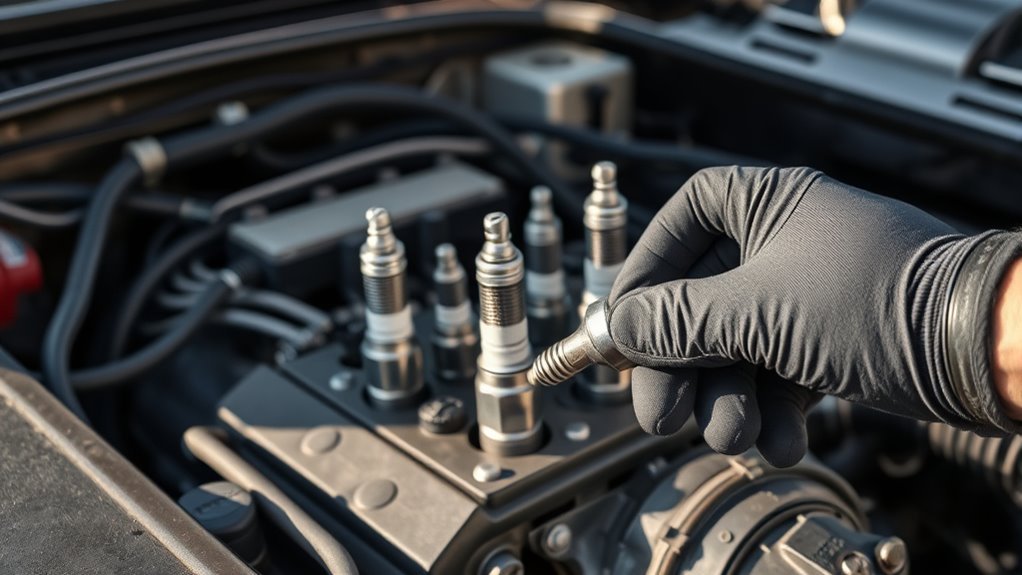
To access spark plugs, first locate them on your engine’s cylinder head, usually beneath ignition coils or wires. These components are key to engine performance, so careful handling is important.Remove any engine covers or obstructing components using the appropriate tools. This will give you clear access to the spark plugs…
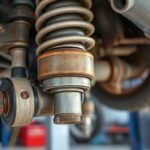
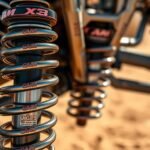
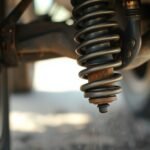
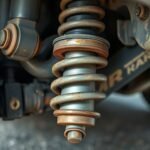
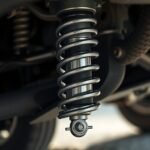
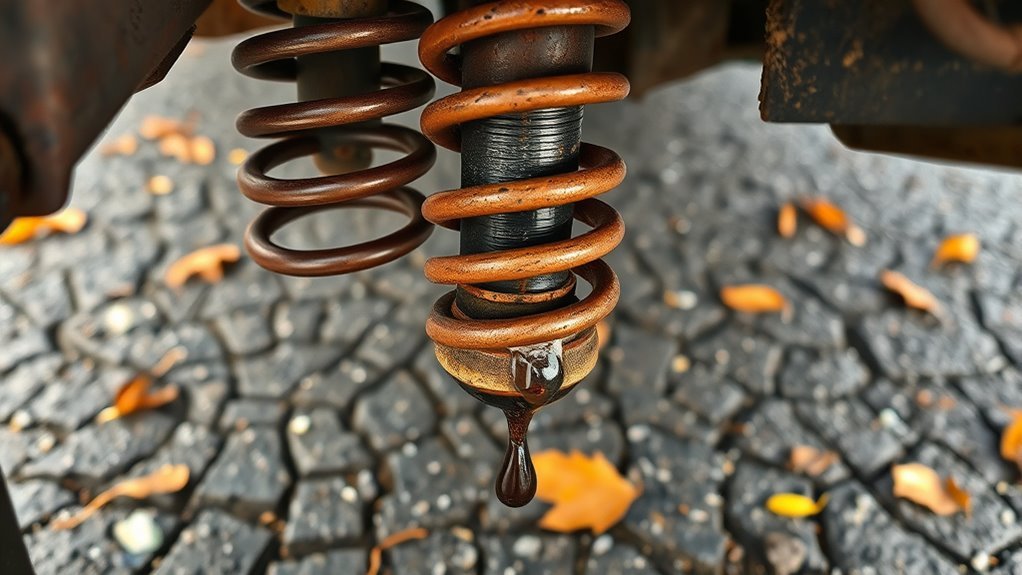
What do bad shocks sound like? If your shocks are bad, you’ll likely hear clunks, knocks, or rattles when driving over bumps. These sounds signal worn mounts or internal damage.Squeaks or creaks usually point to dry or cracked bushings that need lubrication or replacement. Hissing or fluid leaks indicate compromised…
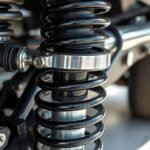
Yes, your car needs an alignment after changing shocks because new shocks can alter your suspension geometry and affect critical wheel angles like camber and toe. These changes impact handling, ride comfort, and tire wear.Without an alignment, you risk uneven tire wear, pulling, and reduced steering precision, which can lead…
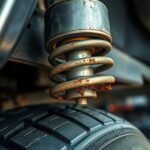
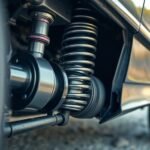
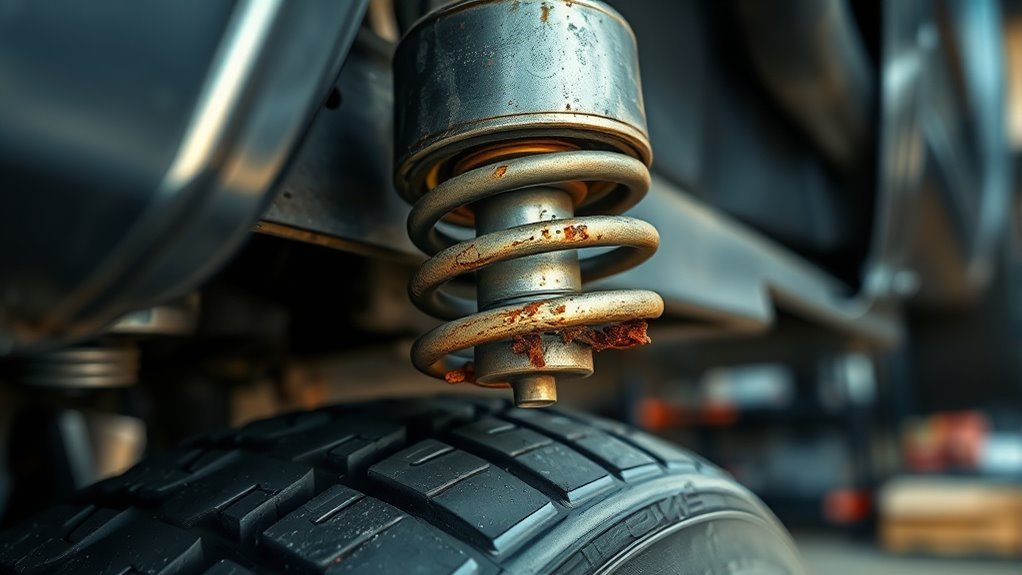
You can tell if shocks are bad by checking for excessive bouncing after bumps, nose-diving when braking, and uneven tire wear.Listen for squeaks or clunks from suspension movement, and watch for oily fluid leaks on the shock body.Performing a simple bounce test by pushing down on the car corners can…