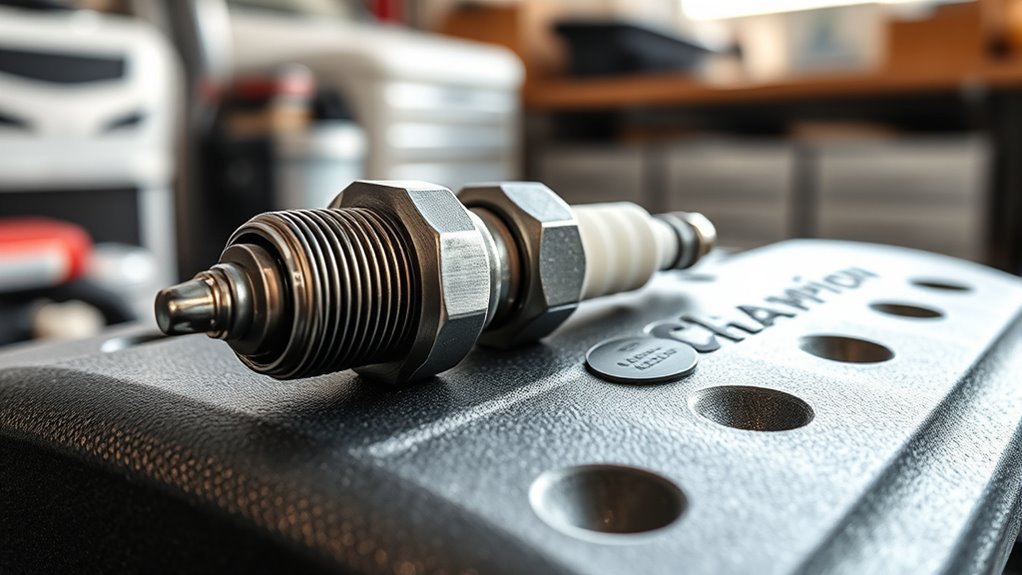
Knowing if Champion spark plugs truly enhance engine performance can change your driving experience—discover why they might be the perfect choice for your vehicle.
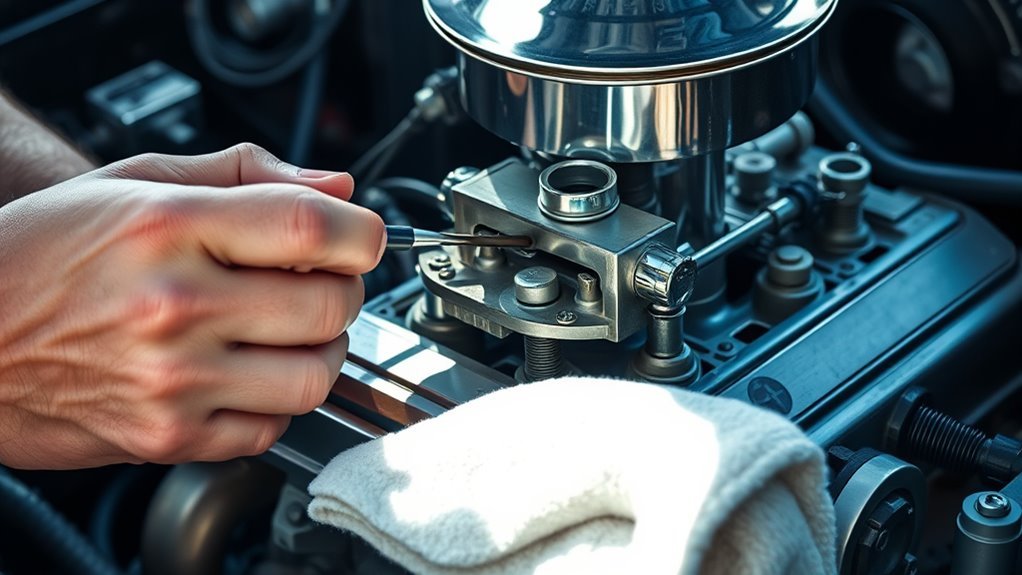
Perfect your engine’s performance by learning how to tune a carburetor precisely—discover the key steps that make all the difference in power and efficiency.
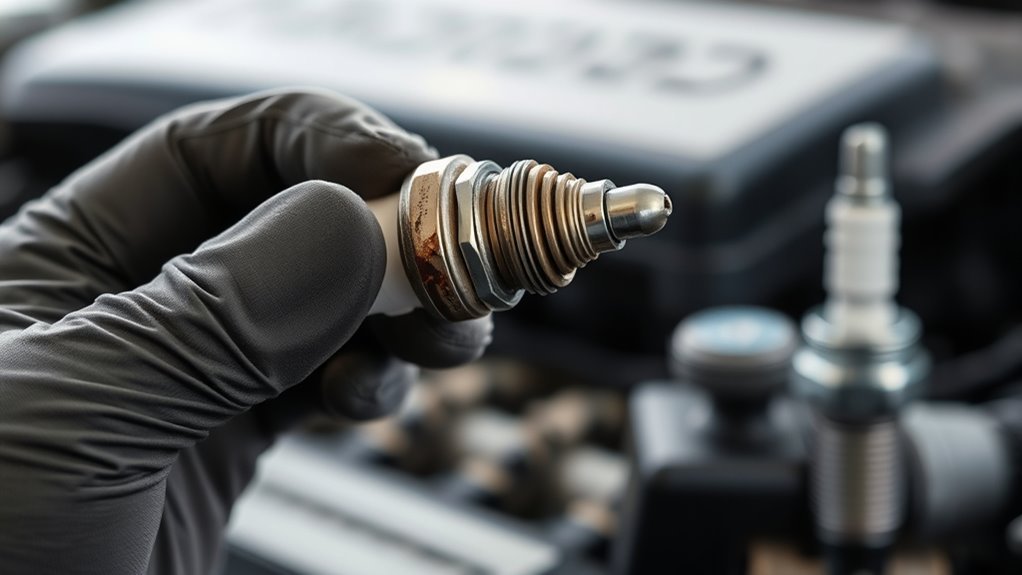
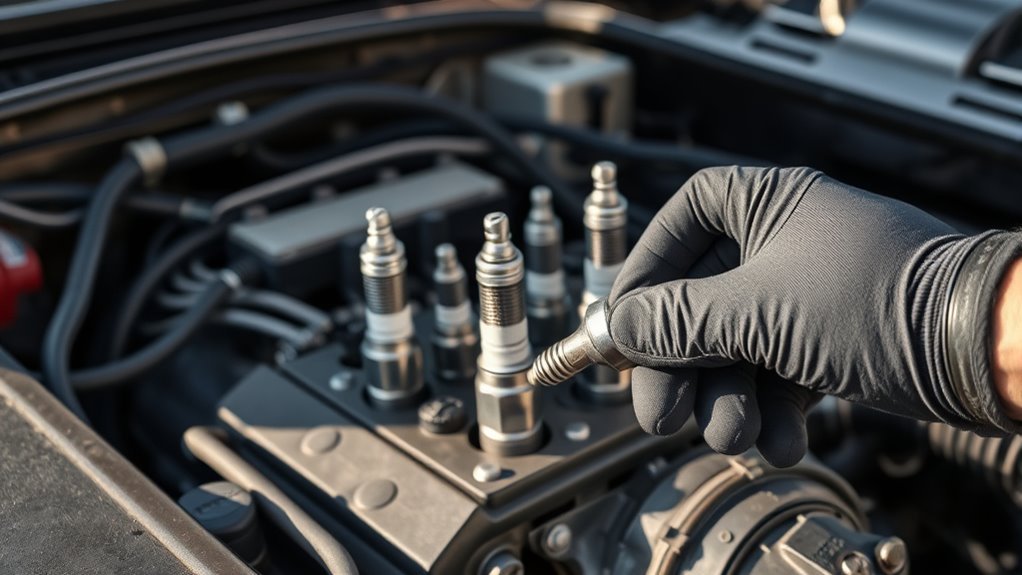
How to access spark plugs safely and efficiently is crucial for engine maintenance; discover the essential steps to avoid common pitfalls and ensure success.
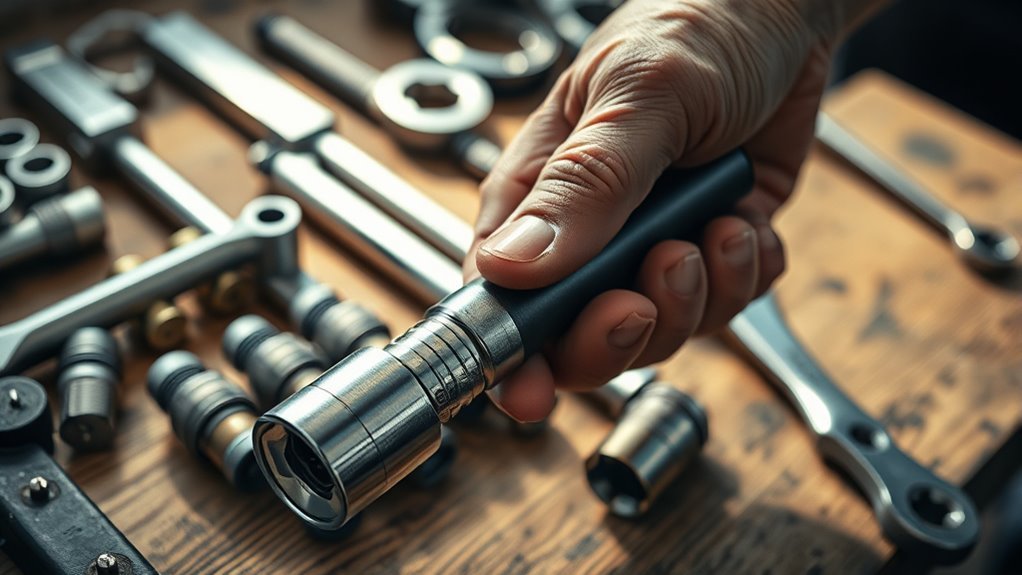
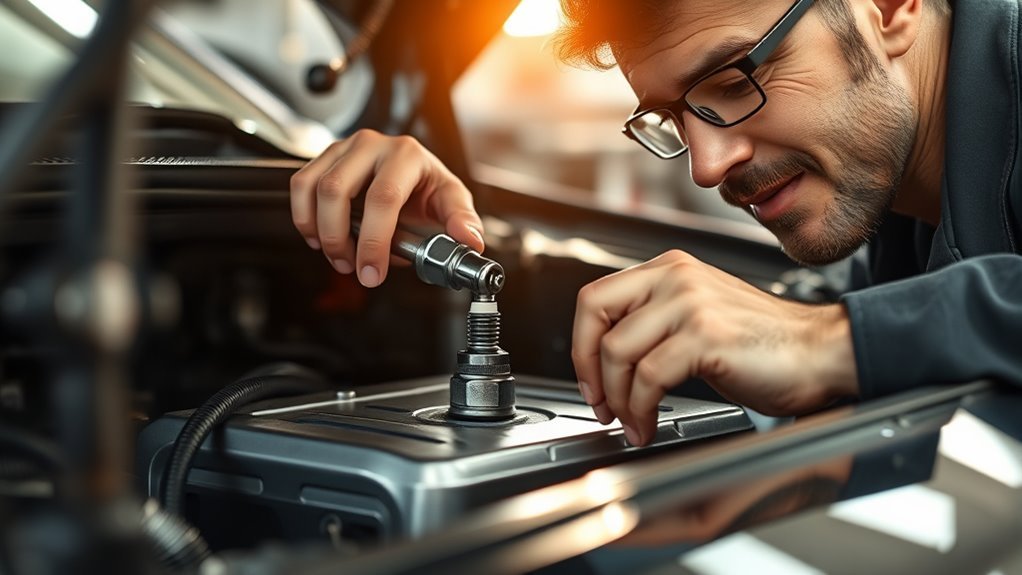
Curious who changes spark plugs near you with expert care and precision? Discover trusted professionals ready to boost your engine’s performance today.