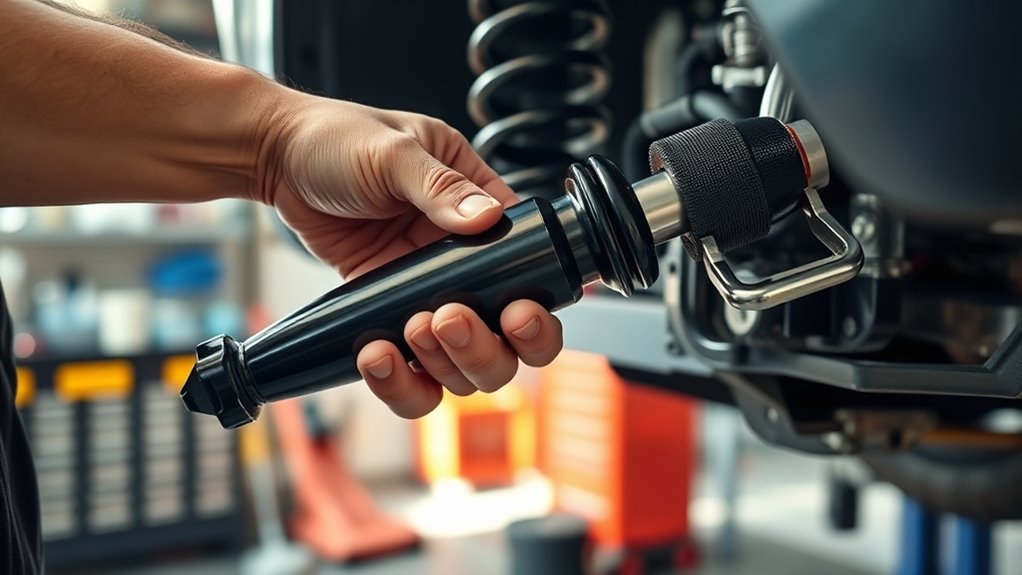
Tag: gas shocks

  • How to Install Gas Shocks

    How to Install Gas Shocks

    To install gas shocks, first secure your vehicle on a flat surface using a jack and jack stands. This ensures safety and stability while you work.

    Next, remove the old shocks by loosening their mounting bolts. Take this opportunity to inspect surrounding suspension parts for any signs of wear or damage.

    Align the new shocks with the mounting points, using the correct hardware. Tighten the bolts to the manufacturer’s torque specifications to guarantee a secure attachment.

    After installation, test the shocks for smooth damping and proper alignment. For a safer ride and long-lasting performance, it’s helpful to explore detailed installation steps and common mistakes to avoid.

    Key Takeaways

    • Inspect shocks and suspension components for damage or wear before replacement to ensure vehicle safety and stability.
    • Securely lift and support the vehicle with a jack and jack stands on a flat surface before starting installation.
    • Remove old shocks carefully, then align and mount new gas shocks using correct hardware and specified torque values.
    • Use a torque wrench to evenly tighten bolts, avoiding over-tightening or under-tightening for proper shock function.
    • Test the vehicle on varied roads post-installation to check for proper shock performance and secure mounting.

    Identify When Gas Shocks Need Replacement

    Before you begin replacing gas shocks, you need to accurately determine whether they require replacement. Start by inspecting for clear symptoms of wear, such as fluid leaks around the shock body or visible dents and corrosion.

    Check for uneven tire wear, which often signals suspension issues.

    Next, assess performance degradation by conducting a bounce test: push down sharply on one corner of the vehicle and release. If the vehicle continues to bounce more than two or three times, the shocks have likely lost damping efficiency.

    Also, note any increased body roll, nose-diving during braking, or excessive vibration while driving, as these indicate compromised shock absorbers.

    Identifying these precise signs guarantees you replace gas shocks only when necessary, maintaining ideal vehicle stability and safety.

    Prepare Your Vehicle Safely for Gas Shock Installation

    Once you’ve confirmed that your gas shocks need replacing, focus on securing a safe and stable environment for the installation process. Begin by parking on a flat surface and engaging the parking brake to maintain vehicle stability. Use wheel chocks to prevent any movement.

    Next, lift the vehicle with a hydraulic jack and support it securely on jack stands. Never rely solely on the jack.

    Step Safety Tip
    Park & Engage Brake Guarantees no vehicle movement
    Use Wheel Chocks Prevents rolling during lift
    Jack & Support Vehicle Maintains stability for shock absorbers replacement

    This preparation is essential for your safety and to avoid damaging suspension components when you replace the shock absorbers.

    Inspect Suspension Components Before You Start

    Three key suspension components demand thorough inspection before you start replacing gas shocks: the control arms, bushings, and mounting hardware.

    Begin by applying suspension inspection techniques such as visual examination and manual manipulation to detect cracks, corrosion, or deformation.

    Use component wear analysis to evaluate bushings for cracks, brittleness, or excessive play, which could compromise shock performance.

    Check mounting hardware for rust, stripped threads, or looseness that might affect secure attachment.

    Pay close attention to ball joints and control arm integrity, as damage here can impact handling and safety.

    Document any signs of wear or damage, as these may require repair or replacement alongside the gas shocks.

    Record all wear or damage found to ensure necessary repairs accompany your gas shock replacement.

    Completing this inspection guarantees you address all potential suspension issues, allowing the new gas shocks to function efficiently and extend their service life.

    Remove Old Gas Shocks Step-by-Step

    Before you remove the old gas shocks, gather the necessary tools like wrenches, a jack, and safety glasses.

    Always secure the vehicle on a stable surface and use jack stands to prevent accidents.

    Following these safety precautions and preparing your equipment guarantees a smooth removal process.

    Tools Needed

    To remove old gas shocks effectively, you’ll need a specific set of tools that guarantee safety and efficiency.

    Since various shock absorber types have different mounting designs and gas pressure differences, having the right tools guarantees you handle components without damage.

    Prepare these essentials before starting:

    • Socket set and ratchet: For loosening and removing mounting bolts precisely.
    • Wrenches: To hold nuts securely while turning bolts, especially in tight spaces.
    • Penetrating oil: Helps loosen seized bolts caused by corrosion or pressure variations.
    • Jack and jack stands: To safely lift and support the vehicle, providing stable access to shocks.

    Using these tools correctly will streamline the removal process and prevent damage to the shocks or vehicle.

    Safety Precautions

    Although removing old gas shocks may seem straightforward, you must observe strict safety precautions to prevent injury and damage.

    First, always wear appropriate personal protective equipment, including safety glasses, gloves, and sturdy footwear, to shield against debris and accidental contact.

    Before starting, verify the vehicle is securely supported on jack stands to avoid collapse. Disconnect the battery to prevent electrical hazards. Familiarize yourself with emergency procedures, such as how to handle sudden shock decompression or fluid leaks.

    Work in a well-ventilated area and keep a fire extinguisher nearby. Avoid using excessive force when detaching components to prevent parts from snapping or causing injury.

    Install New Gas Shocks Correctly

    First, gather all necessary tools to guarantee a smooth installation process.

    Next, carefully remove the old shocks if you haven’t already done so.

    Finally, position and secure the new gas shocks firmly according to the manufacturer’s specifications.

    Gather Necessary Tools

    You’ll need a specific set of tools to install new gas shocks correctly and efficiently. Before you begin, gather tools and necessary equipment to guarantee a smooth process. Having the right tools prevents damage and speeds up the installation.

    Essential tools include:

    • Socket wrench set with appropriate sizes
    • Torque wrench for precise tightening
    • Jack and jack stands to safely lift and support the vehicle
    • Screwdrivers or pry bars to assist in removing clips or brackets

    Make certain all tools are in good condition and compatible with your vehicle model.

    Organize your workspace to keep the necessary equipment within reach. Preparing thoroughly at this stage minimizes interruptions and guarantees you install the gas shocks with accuracy and safety.

    Remove Old Shocks

    With all necessary tools prepared and your workspace organized, you can proceed to remove the old shocks. First, identify the shock absorber types on your vehicle to guarantee proper handling during removal. Typically, you’ll encounter either twin-tube or monotube designs, each requiring specific detachment methods.

    Begin by safely lifting the vehicle and securing it with jack stands. Loosen and remove the mounting bolts at both ends of the shock absorber using the appropriate wrench or socket.

    Note the condition of the old shocks, as shock replacement frequency generally depends on mileage and performance issues.

    Carefully extract the shock without damaging surrounding components. Removing the old shocks correctly prepares you for a smooth installation of new gas shocks, maintaining vehicle stability and ride comfort.

    Secure New Gas Shocks

    Align the new gas shock with the mounting points, guaranteeing the orientation matches the manufacturer’s specifications.

    Before fastening, verify the shock alignment to avoid stress or premature wear. Position the shock so the piston rod moves freely without binding.

    Use the correct hardware for secure mounting, tightening bolts to the torque values specified in the manual.

    Confirm that mounting brackets are clean and undamaged before installation.

    Insert bolts through the shock and mounting points without forcing.

    Tighten mounting bolts incrementally, alternating to maintain even pressure.

    Recheck shock alignment and secure mounting after initial torque application.

    Following these steps guarantees the gas shocks function efficiently and maintain vehicle stability under load.

    Torque and Secure Shock Mounting Bolts Properly

    Although securing the shock mounting bolts might seem straightforward, applying the correct torque is essential to confirm safety and peak performance.

    Start by consulting your vehicle’s service manual for the specified shock torque values.

    Use a calibrated torque wrench to tighten each bolt evenly and accurately, preventing under- or over-tightening. Proper bolt security confirms the gas shocks remain firmly attached under dynamic loads, reducing wear and potential failure.

    Tighten bolts in a crisscross pattern if applicable, and double-check all fasteners after initial torqueing.

    Avoid using impact tools for final tightening, as they can exceed recommended torque and damage threads.

    Test Your New Gas Shocks for a Smooth Ride

    After securing the shock mounting bolts to the correct torque specifications, you should verify the performance of your new gas shocks under actual driving conditions. Testing confirms ideal shock performance and ride comfort, confirming the installation’s success.

    Begin with a controlled drive on varied road surfaces to assess responsiveness. Pay attention to:

    • Reduced body roll during cornering
    • Minimized vibrations over bumps
    • Consistent rebound and compression rates
    • Stable vehicle height and alignment

    If you notice excessive bouncing, uneven ride height, or harsh impacts, recheck the installation.

    Proper testing guarantees your gas shocks deliver the intended smooth ride, enhancing safety and comfort. Always perform this step before regular use to confirm reliability and performance.

    Avoid Common Gas Shock Installation Mistakes

    When installing gas shocks, you must avoid common mistakes that can compromise performance and safety. One frequent pitfall is neglecting to properly align the shock with mounting points, which can cause premature wear or failure. Always check the orientation before tightening bolts.

    Another common pitfall is over-tightening fasteners; use a torque wrench and follow manufacturer specifications to prevent damage. Avoid mixing old and new components, as inconsistent parts can lead to uneven damping.

    Installation tips include cleaning mounting surfaces thoroughly to guarantee secure attachment and inspecting bushings for wear or damage.

    Additionally, don’t forget to compress the shock rod slightly if required before installation to reduce stress.

    Troubleshoot Issues After Installing Gas Shocks

    If you notice unusual noises, poor handling, or uneven ride height after installing gas shocks, you need to systematically troubleshoot the issue.

    Effective gas shock troubleshooting starts with identifying common installation problems that could cause malfunction.

    Check these critical points:

    • Confirm mounting bolts are correctly torqued and secured; loose fittings cause noise and instability.
    • Inspect shock orientation; reversed shocks lead to poor damping and handling issues.
    • Verify the shock length matches manufacturer specifications to avoid ride height discrepancies.
    • Examine for fluid leaks or damaged seals that impair shock performance.

    Addressing these factors will resolve most gas shock installation faults.

    Follow this precise approach to guarantee your gas shocks function at their best, restoring vehicle stability and ride comfort.

    Frequently Asked Questions

    What Are the Benefits of Gas Shocks Over Traditional Shocks?

    You’ll enjoy performance advantages with gas shocks, as they reduce aeration and fade, providing consistent damping. This directly improves ride quality by enhancing stability, control, and responsiveness compared to traditional hydraulic shocks.

    How Long Do Gas Shocks Typically Last Before Replacement?

    You can expect a shock lifespan of 50,000 to 100,000 miles with proper maintenance. Follow maintenance tips like regular inspections and cleaning to maximize durability. This ensures your gas shocks perform at their best over time without premature failure.

    Can I Install Gas Shocks on Any Type of Vehicle?

    You can’t install gas shocks on any vehicle; verify vehicle compatibility first. Check your vehicle’s specifications and shock type before shock installation to guarantee proper fit and performance.

    Always consult your manual or a professional technician.

    Are Gas Shocks Compatible With Aftermarket Suspension Kits?

    Yes, gas shocks often offer aftermarket compatibility, but you must verify fitment with your suspension kit. Proper matching guarantees peak suspension performance, maintaining ride quality and handling without compromising the upgraded components’ intended function.

    How Do Temperature Changes Affect Gas Shock Performance?

    You’ll notice temperature effects cause performance variability in gas shocks, as colder temperatures thicken the gas, reducing responsiveness, while heat thins it, increasing damping. Adjust for consistent performance by monitoring and compensating accordingly.

    Conclusion

    Now that you’ve tackled installing gas shocks yourself, you’ll probably wonder why you ever paid a mechanic. Just remember, while it seemed straightforward, skipping steps or ignoring torque specs can turn your smooth ride into a bumpy lesson.

    With careful inspection, proper tools, and precise installation, you’ll enjoy the improved handling you aimed for. So, don’t be surprised if your confidence grows as much as your vehicle’s performance.

    Installing gas shocks correctly is key to achieving that enhanced driving experience you want.