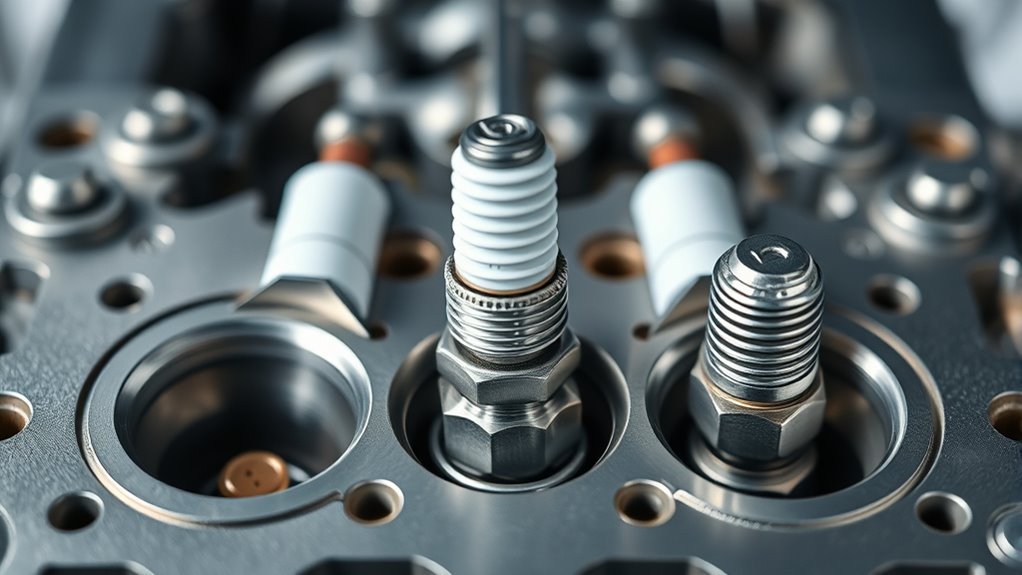
Learn why some engines use three spark plugs per cylinder to boost combustion efficiency and power—discover the surprising benefits behind this design.
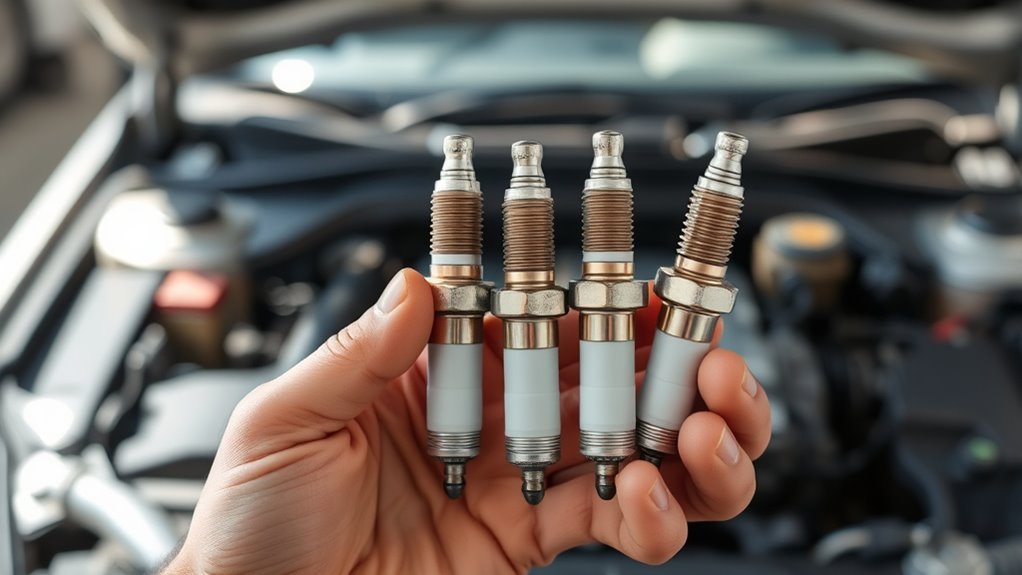
Understanding what spark plugs your vehicle needs can boost performance and longevity. Unlock the secrets to choosing the perfect plug for your engine.