Posted inMaintenance Guide Does Oil Change Include Oil Filter Discover why an oil change usually includes the oil filter and what happens if you skip this crucial step—your engine’s health depends on it. Posted by Admin May 25, 2026
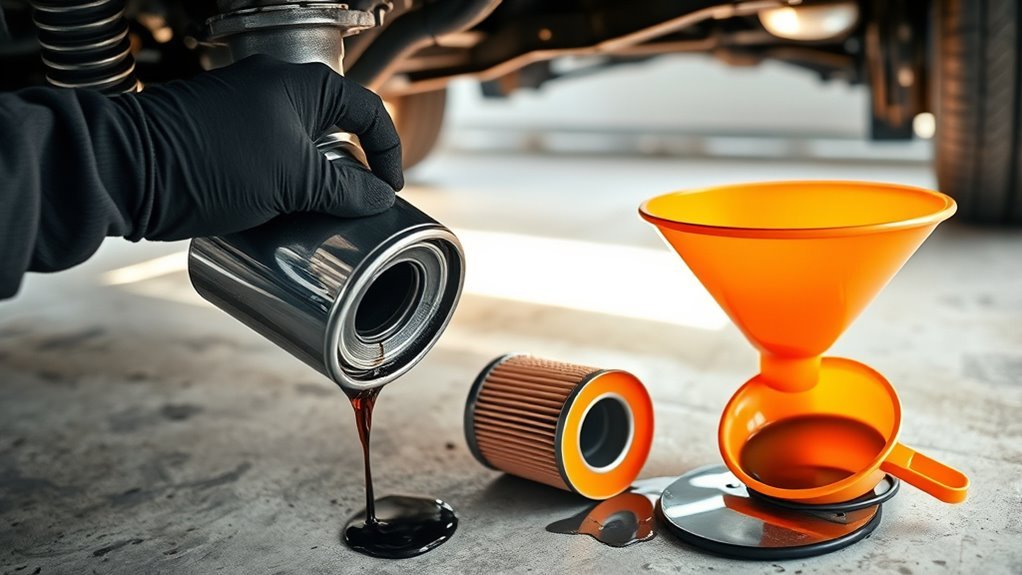
Posted inCar Care How to Change Oil and Oil Filter The essential steps to change your oil and oil filter can save your engine from damage—discover how to do it right every time. Posted by Admin May 23, 2026
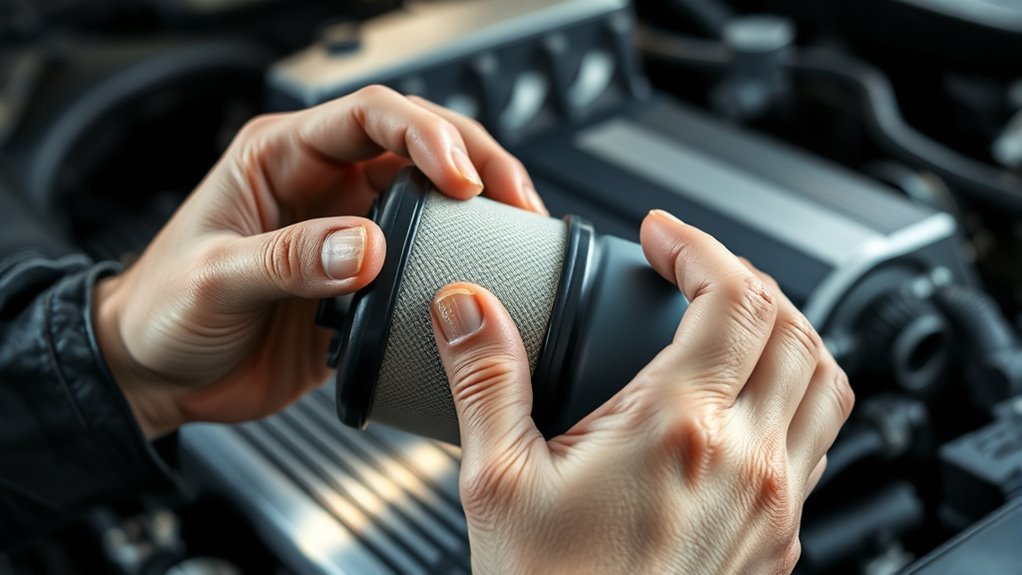
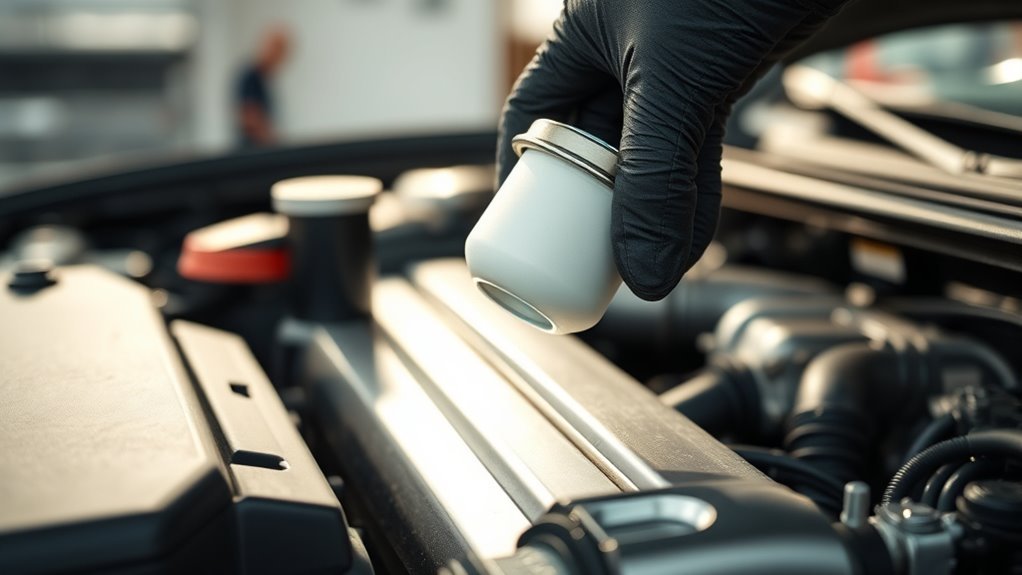
Posted inCar Care How to Change Oil Filter Without Tool Improve your DIY skills by learning how to change an oil filter without a tool, but be prepared for a surprising trick that makes it possible. Posted by Admin May 20, 2026
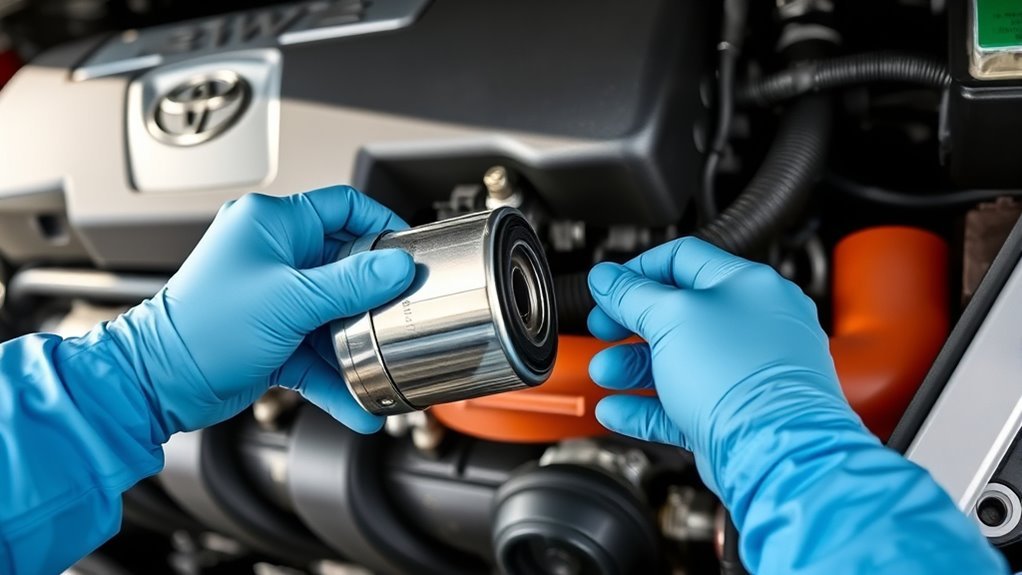
Posted inCar Care How to Change Oil Filter on 2016 Sienna Xle Save money and protect your engine by learning how to change the oil filter on your 2016 Sienna XLE—discover the simple steps inside. Posted by Admin May 19, 2026
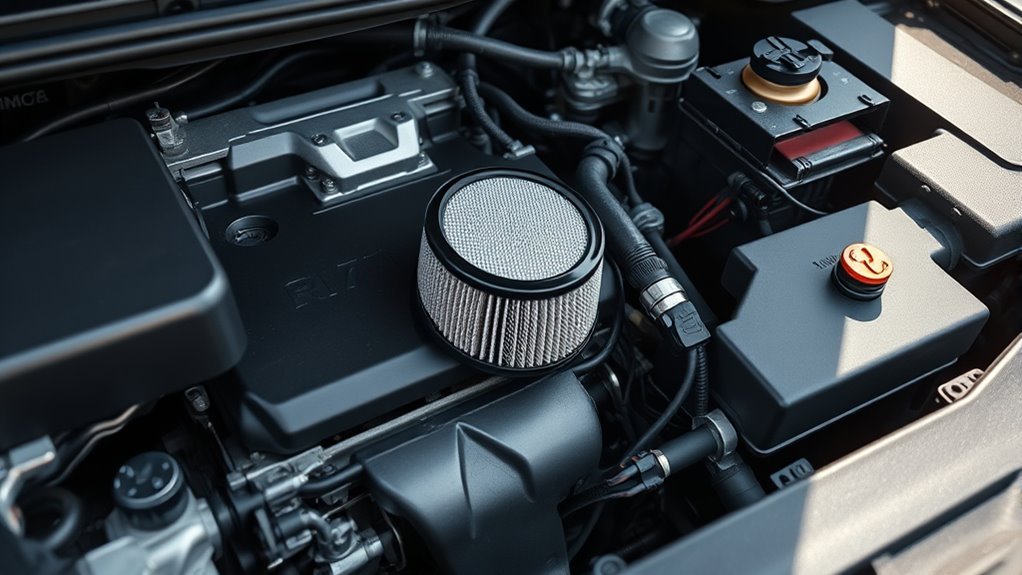
Posted inCar Care Where Is the Oil Filter on a 2017 rav4 Identify the exact location of the oil filter on your 2017 RAV4 and learn how to access it easily for your next oil change. Posted by Admin May 19, 2026
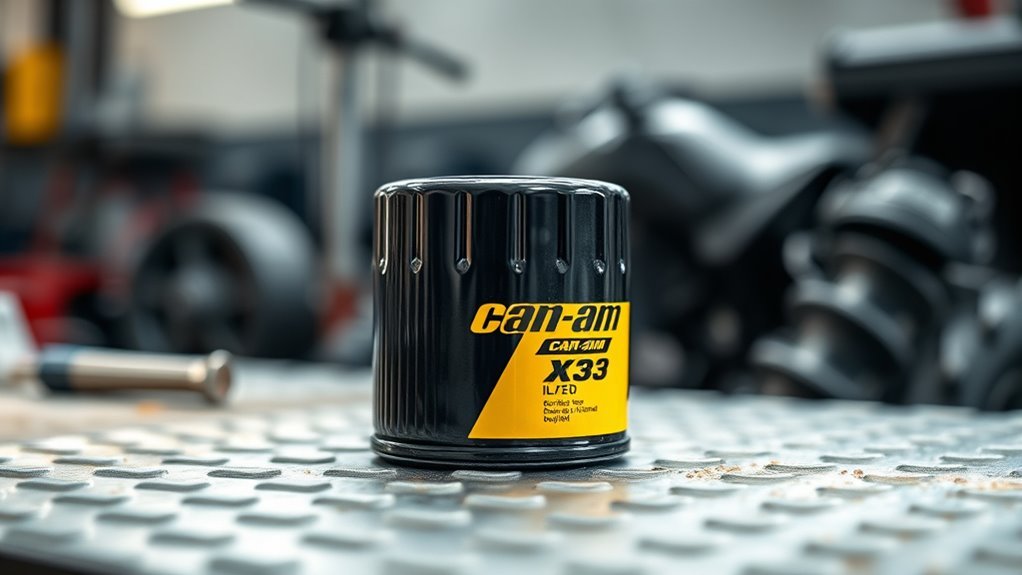
Posted inCar Care Can Am x3 Oil Filter Looking for the best Can Am X3 oil filter? Learn how proper selection and timely changes can dramatically extend your engine’s life and performance. Posted by Admin May 15, 2026
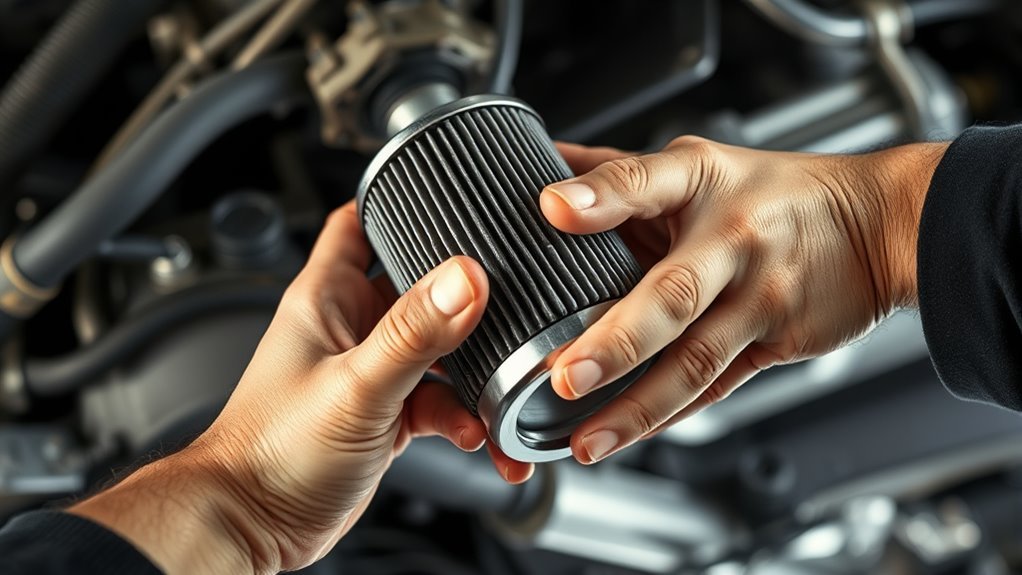
Posted inCar Care How to Remove Oil Filter Often overlooked, removing an oil filter requires the right tools and technique to avoid mess and damage; discover the essential steps inside. Posted by Admin May 13, 2026
Posted inCar Care Can You Change Oil Filter Without Changing Oil Is it safe to change your oil filter without changing the oil? Discover when and why this practice could protect or harm your engine. Posted by Admin May 12, 2026