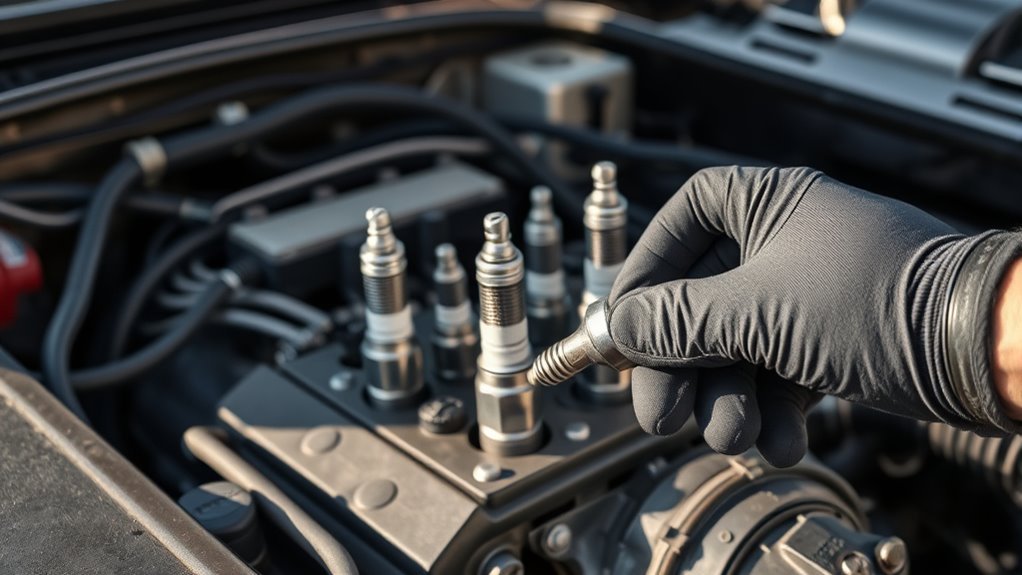
How to access spark plugs safely and efficiently is crucial for engine maintenance; discover the essential steps to avoid common pitfalls and ensure success.
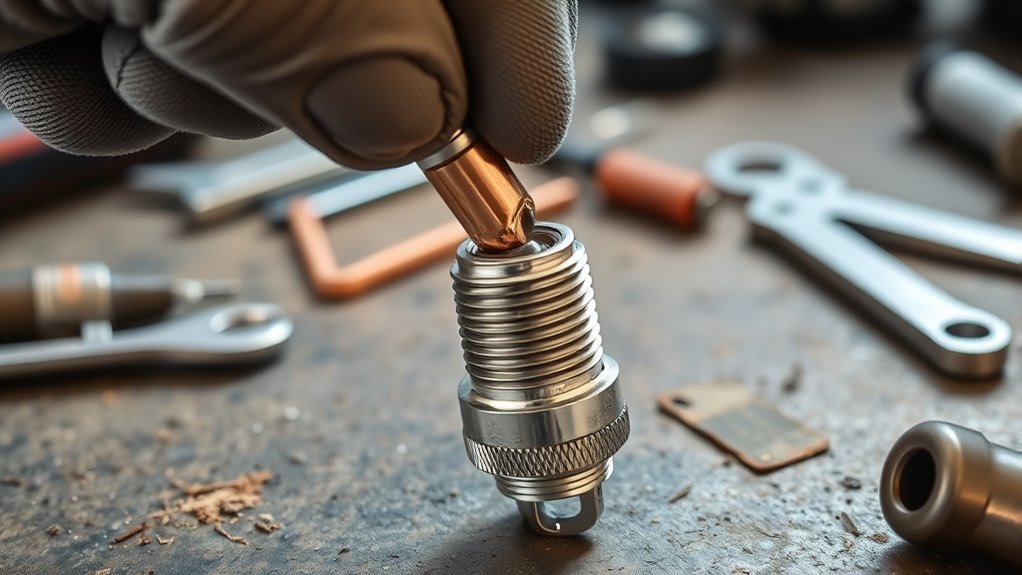
Curious who changes spark plugs near you with expert care and precision? Discover trusted professionals ready to boost your engine’s performance today.
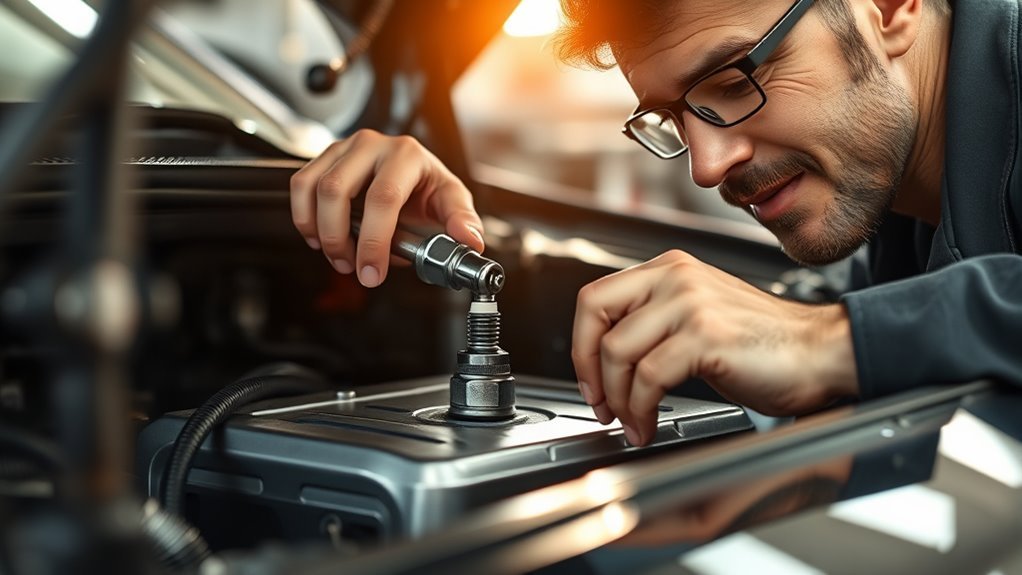
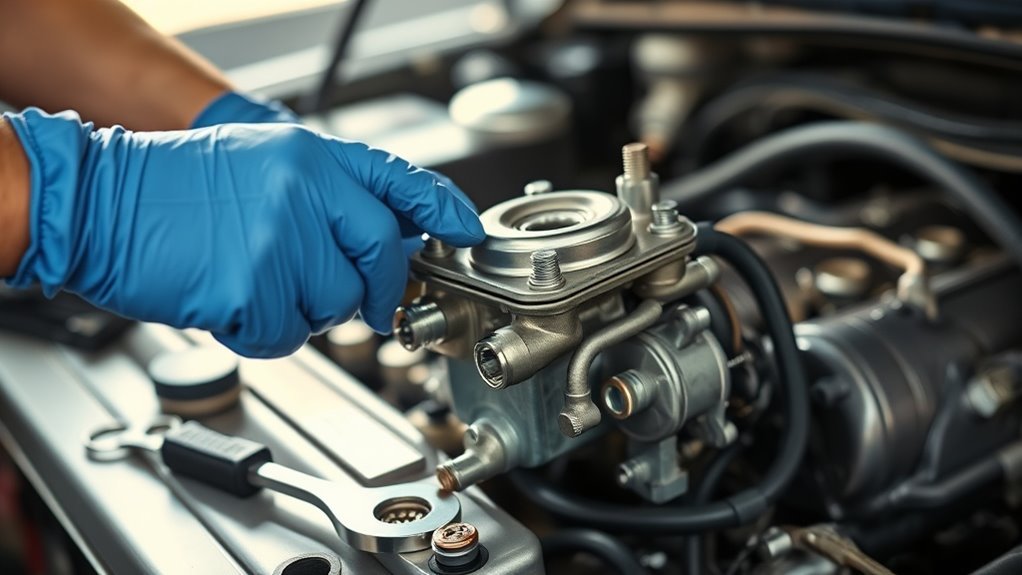
One of the trickiest engine tasks is removing the carburetor without damage—discover the essential steps to master this process safely and effectively.