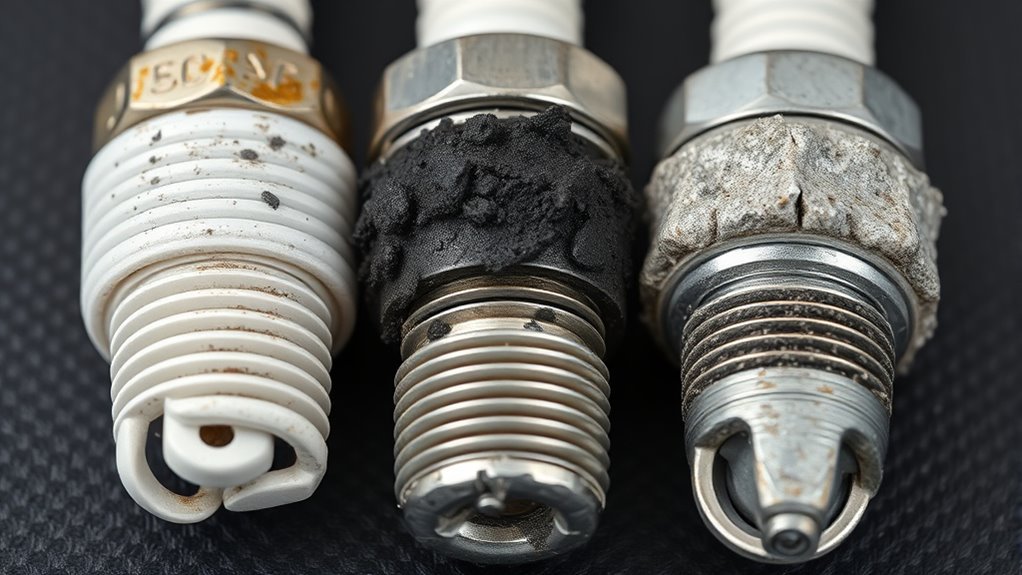
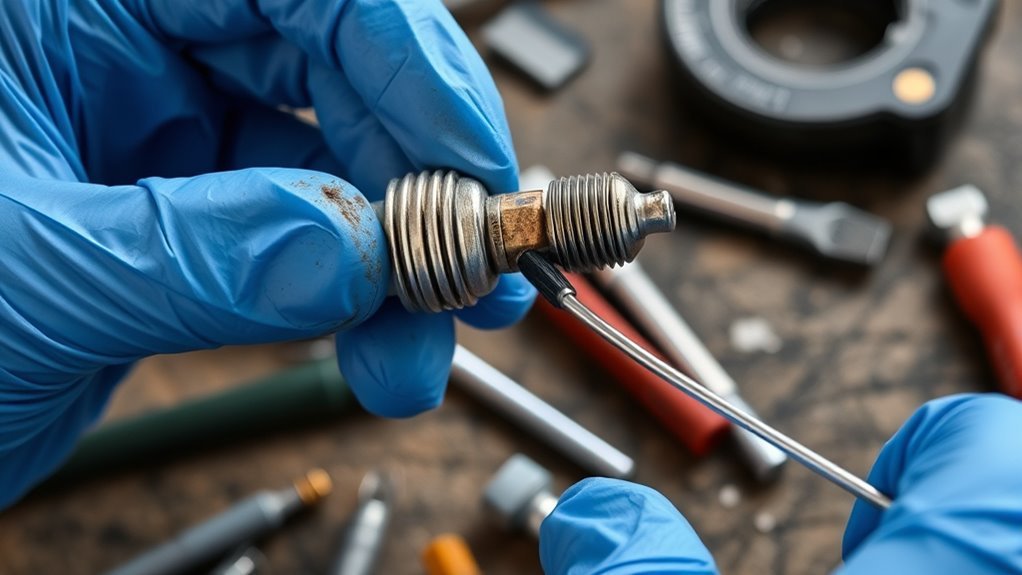
Never underestimate the importance of spark plug gaps—improper spacing can cause serious engine issues. Learn why gapping matters for your vehicle’s performance.
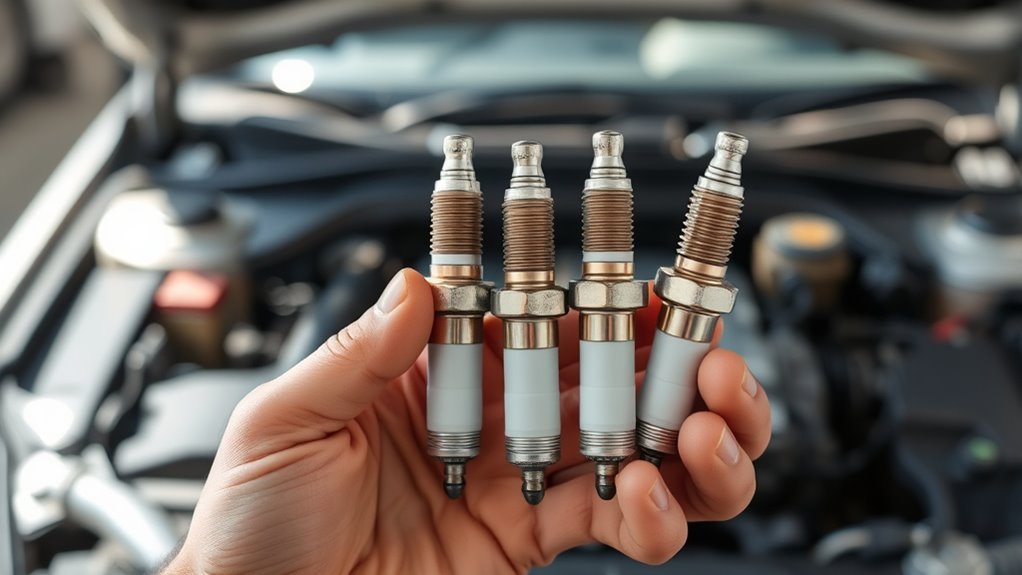
Understanding what spark plugs your vehicle needs can boost performance and longevity. Unlock the secrets to choosing the perfect plug for your engine.