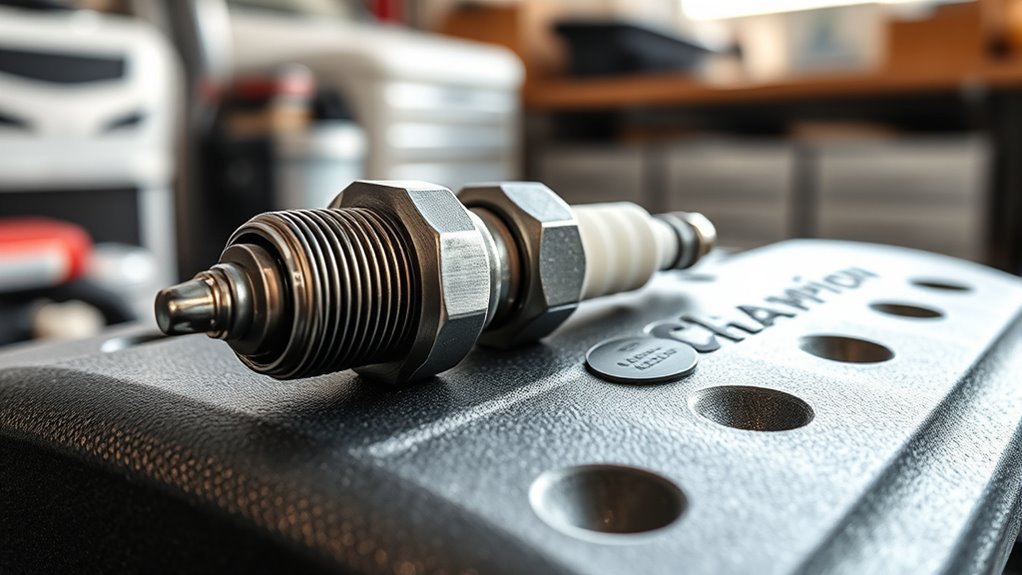
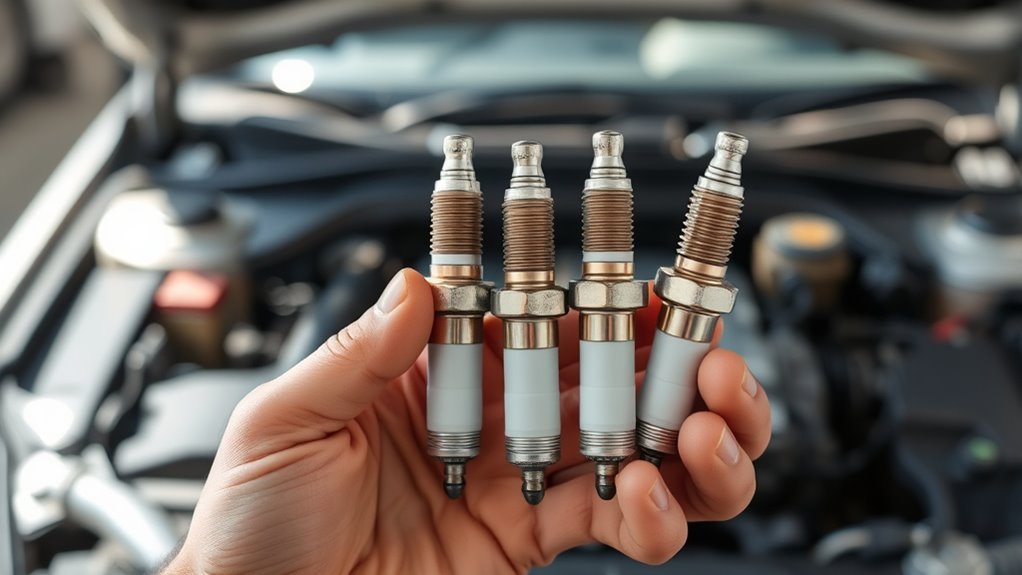
Knowing if Champion spark plugs truly enhance engine performance can change your driving experience—discover why they might be the perfect choice for your vehicle.
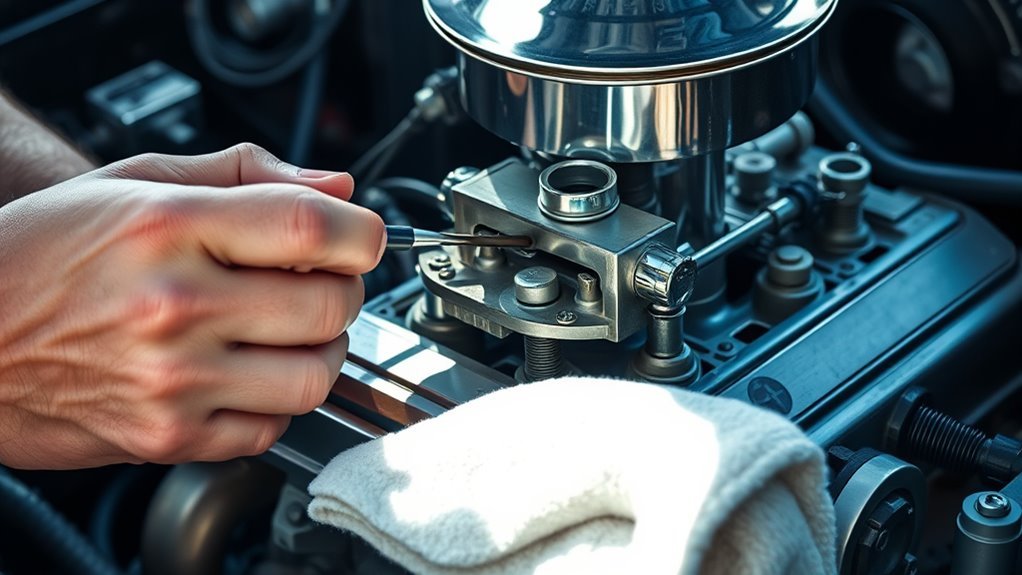
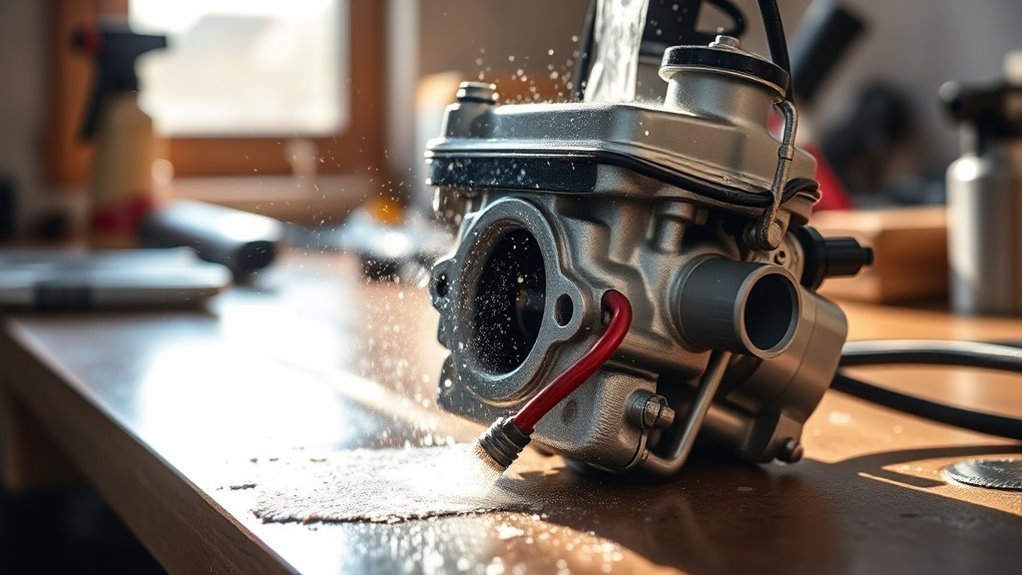
Perfect your engine’s performance by learning how to tune a carburetor precisely—discover the key steps that make all the difference in power and efficiency.
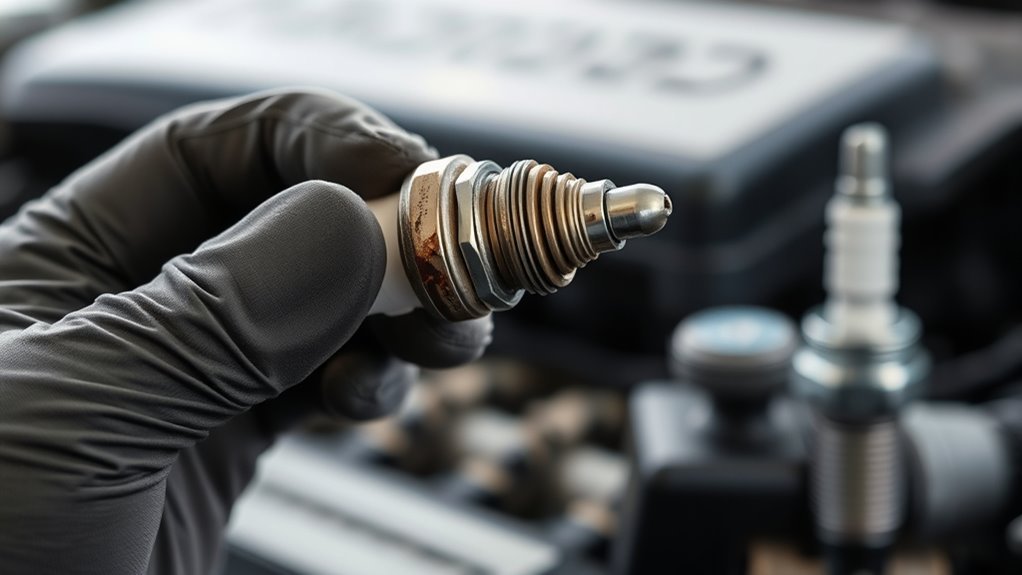
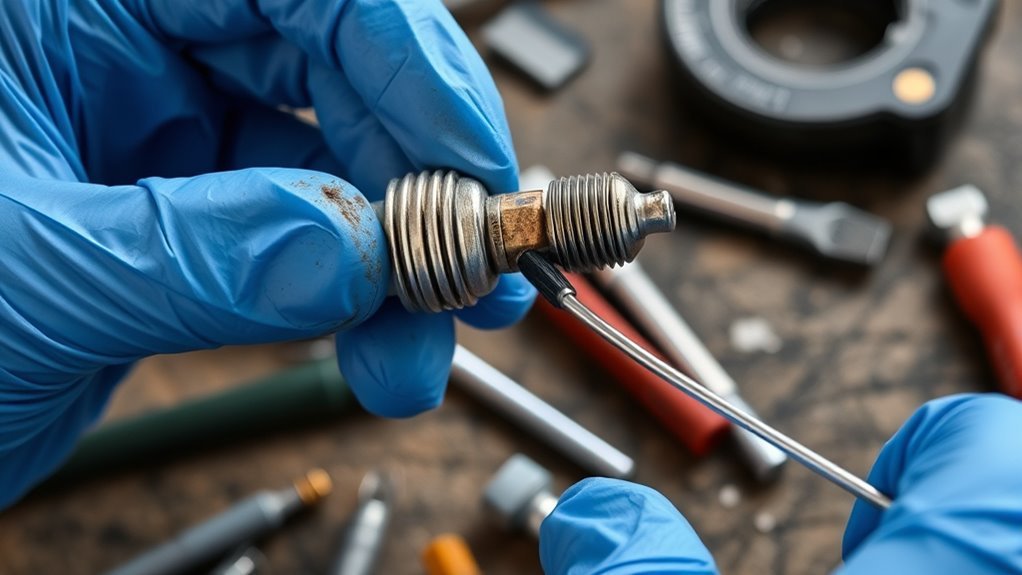
Never underestimate the importance of spark plug gaps—improper spacing can cause serious engine issues. Learn why gapping matters for your vehicle’s performance.
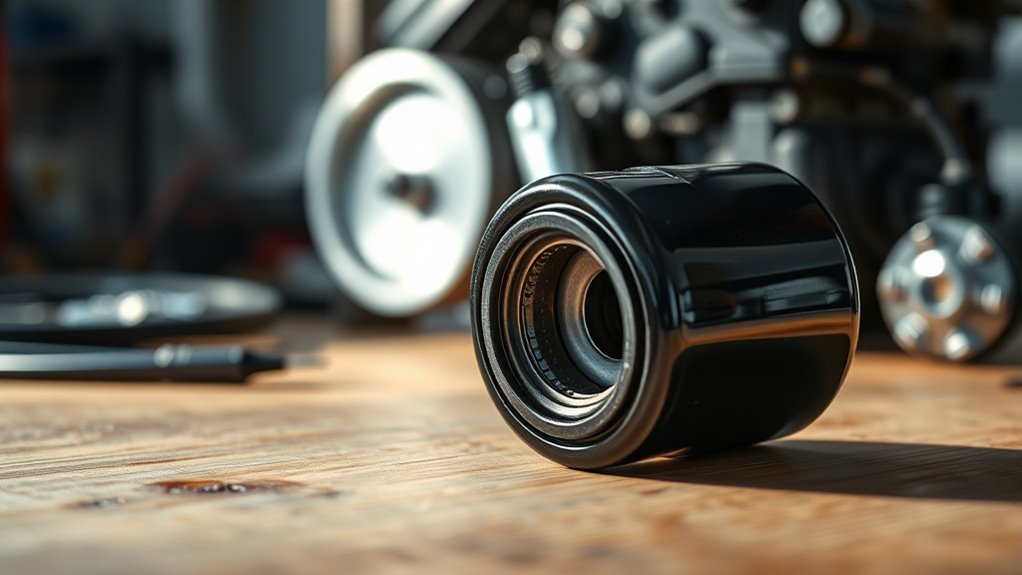
Improve engine performance instantly with carburetor cleaner—it's essential for removing buildup, but do you know how to use it correctly? Discover more inside.
Understanding what spark plugs your vehicle needs can boost performance and longevity. Unlock the secrets to choosing the perfect plug for your engine.