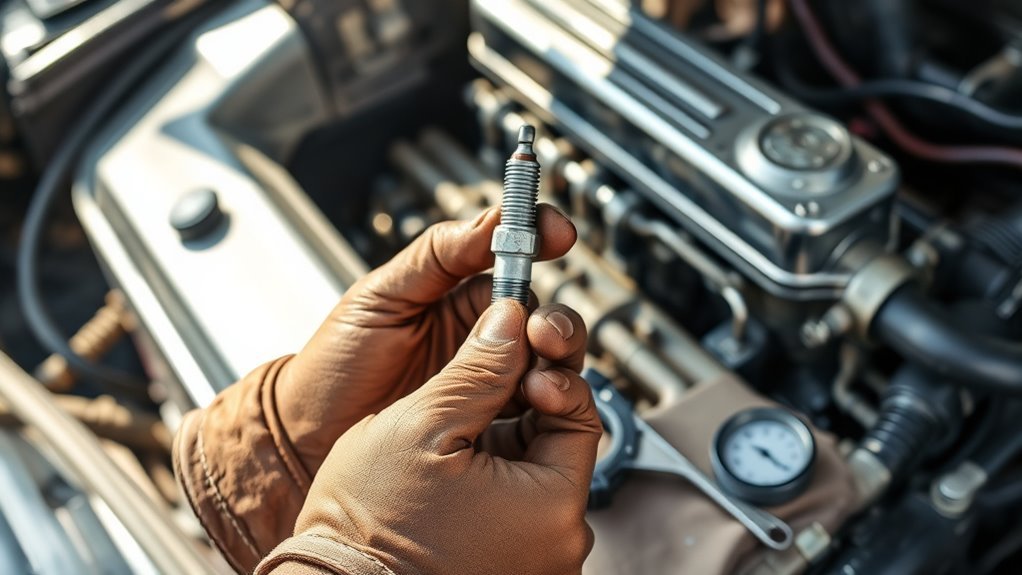
Posted inCar Care How to Replace Spark Plugs Knowing how to replace spark plugs can boost your engine’s performance and save money, but the key steps might surprise you. Keep reading! Posted by Admin May 22, 2026
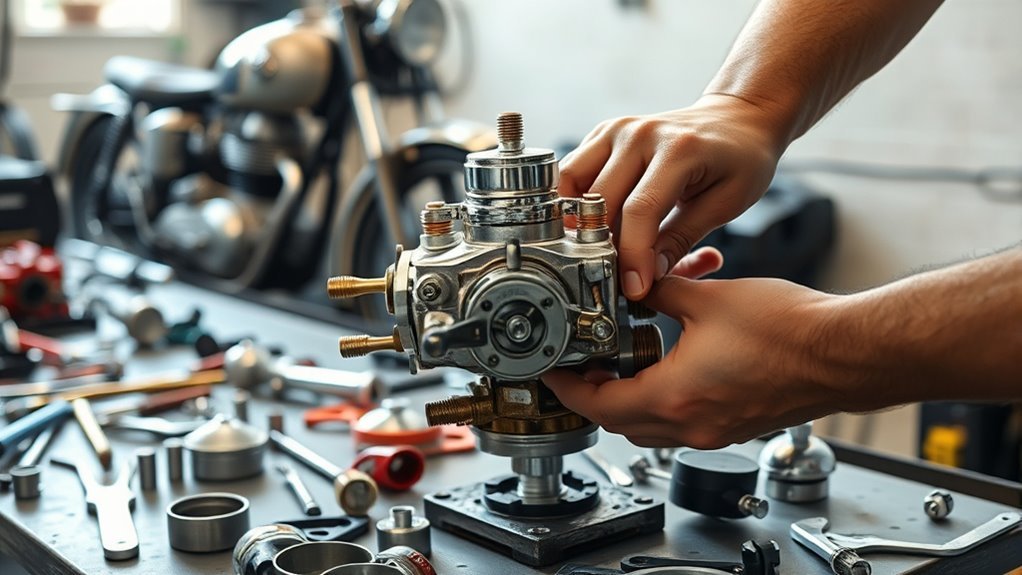
Posted inCar Care How to Fix a Carburetor Master the essential steps to fix a carburetor and unlock your engine’s true potential—discover the secrets to smooth performance today. Posted by Admin May 15, 2026
Posted inCar Care What Do I Need to Change Spark Plugs Unlock the essential tools and tips you need to change spark plugs like a pro—understanding them can save your engine's performance and your time. Posted by Admin May 13, 2026