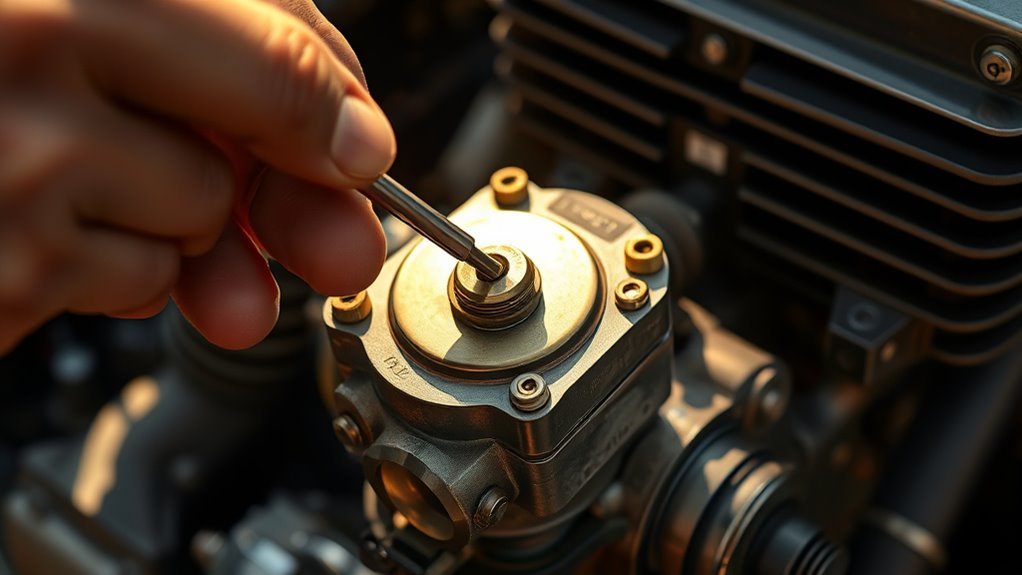
Learn the secrets to adjusting carburetor mixture screws for optimal engine performance and fuel efficiency—discover the crucial steps that many overlook.
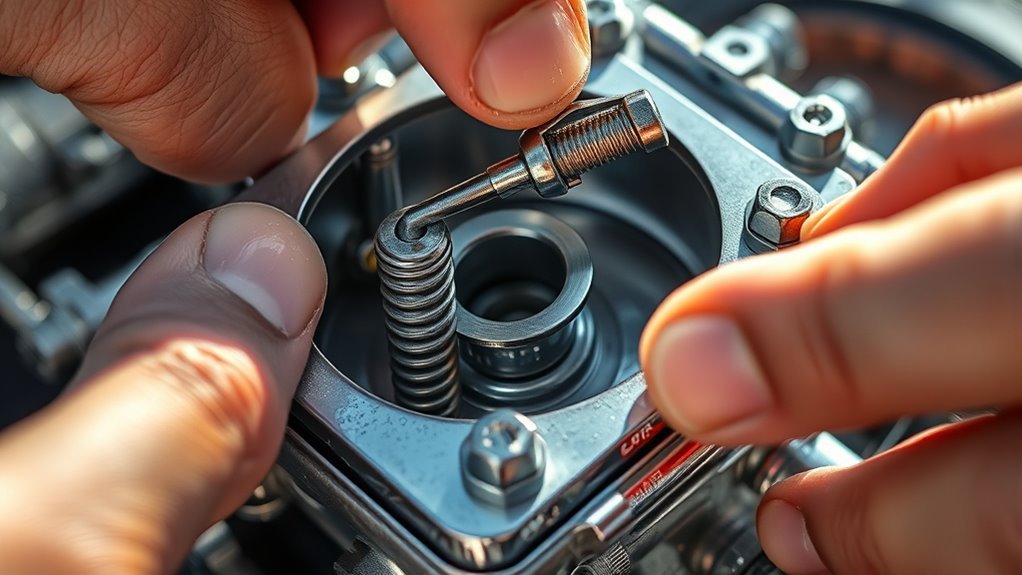
How to adjust the float on a carburetor can dramatically improve engine performance, but mastering the precise steps requires careful attention and patience.